FSSO is a mechanism that allows a FortiGate to know who is logged into a domain joined computer, and transparently assign the device policies based on that users attributes (like group membership). This is fully transparent to users as the processing is done between the Domain Controller and the FortiGate.
This two part guide will show you how to set it up between a Windows Server 2019 domain environment and a FortiGate 60F Firewall running FortiOS 6.4.7
First lets have a look at the environment:
FortiGate - 10.12.92.254
DC01 - 10.12.92.252
Domain name: avidpontoon.co.uk
Domain Controller Configuration
The initial configuration we will complete on the Domain Controller. We need to setup a service account for the FortiGate to connect to the domain with:
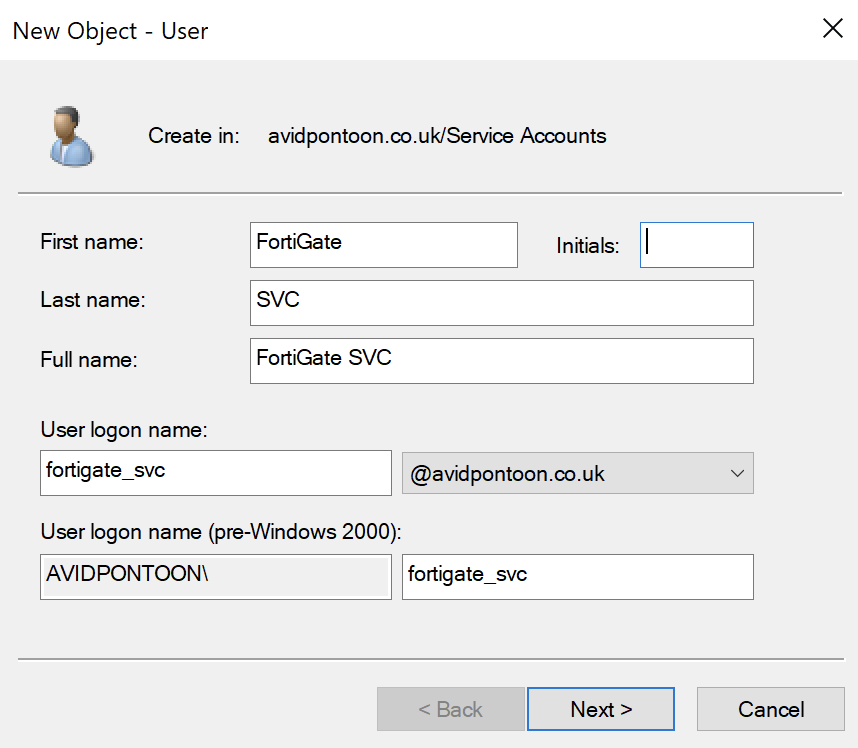
This user only needs Domain User credentials to be able to read the LDAP information from the Server.
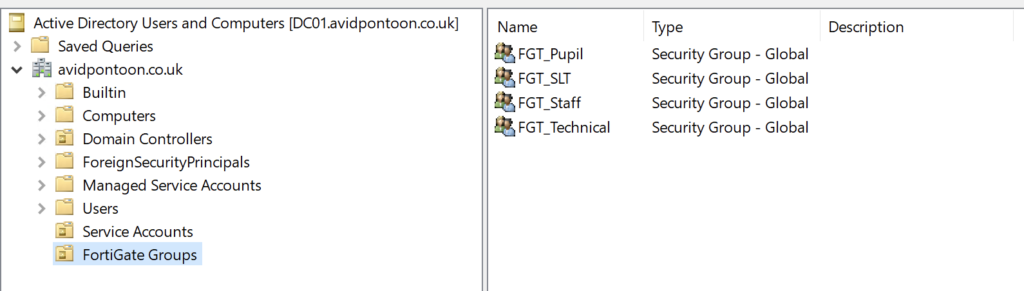
While we are on the Domain Controller, we should create the filtering groups we are going to use later on
I have put these within a separate OU:
Now this is setup on the Domain Controller, we can install the FSSO and DC Collector agents on the server.
Start by executing the FSSO Collector agent installer first:
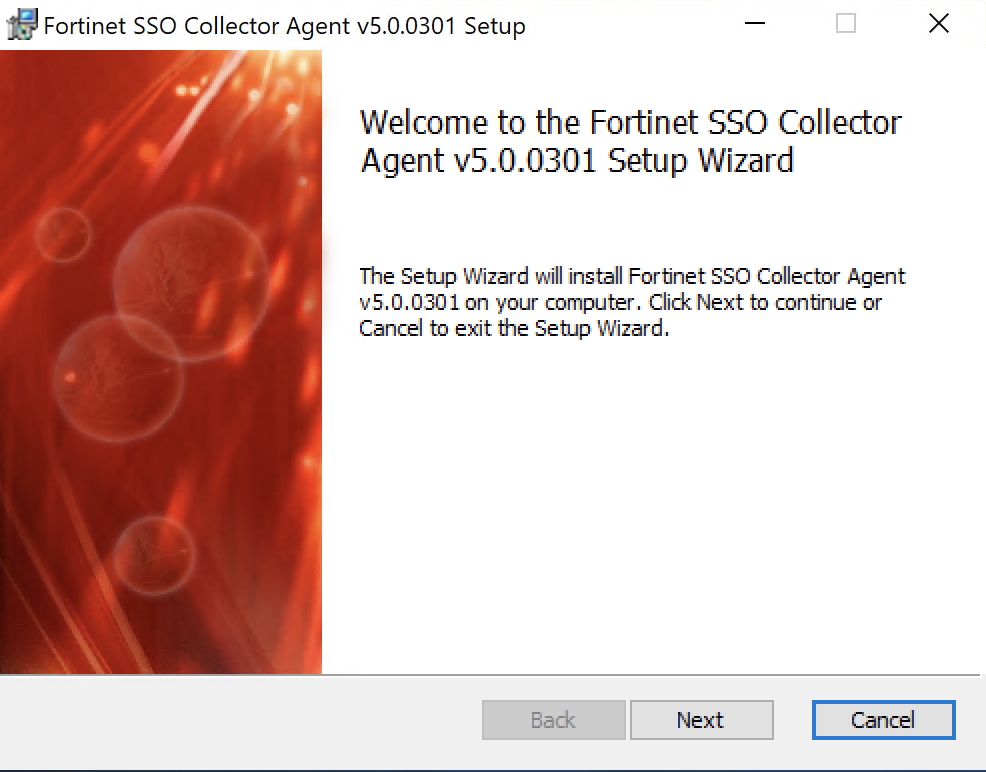
Click Next, You should accept the EULA and choose where you would like the software to be installed.
You will get to a page that asks for the domain credentials, you should enter the domain administrator account here:
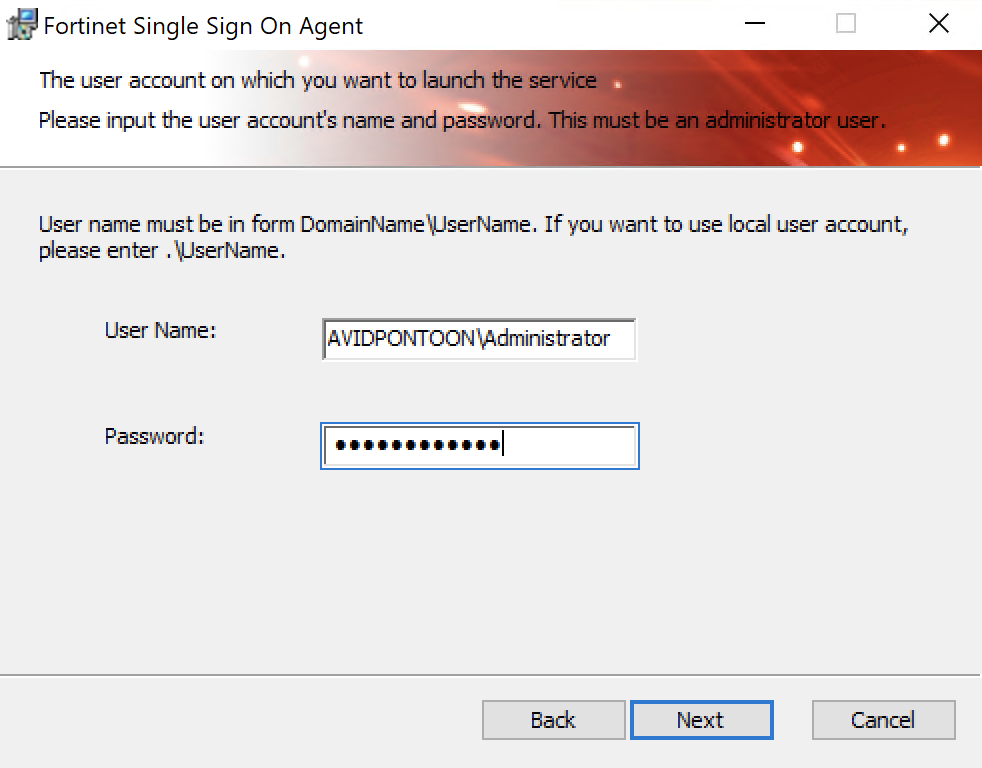
Click Next to continue.
You will be asked some some questions about how you would like the agent to be setup:
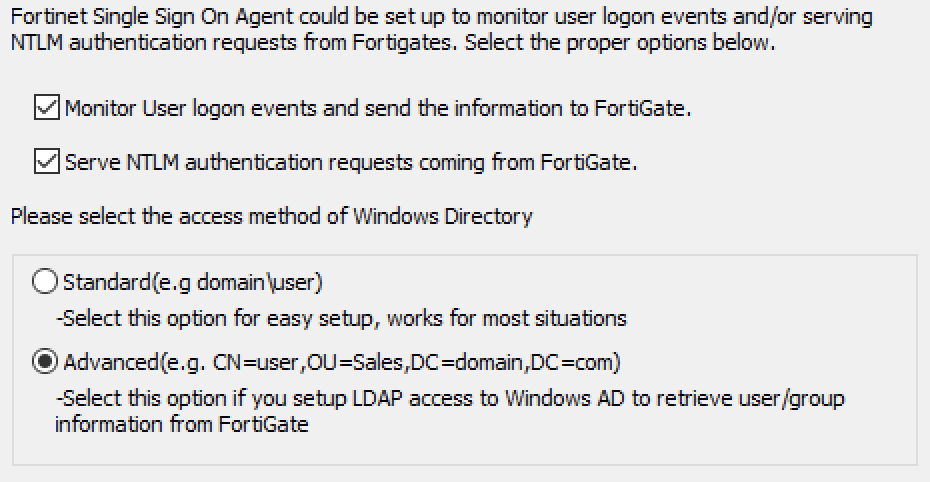
In this example, I have left the top two options checked. However, I have changed the access method to Advanced as it gives more granular options later on like nested OU/Group support.
Click Next and then Install. The installation should only take a minute or so.
You should see this page once the installation has completed:
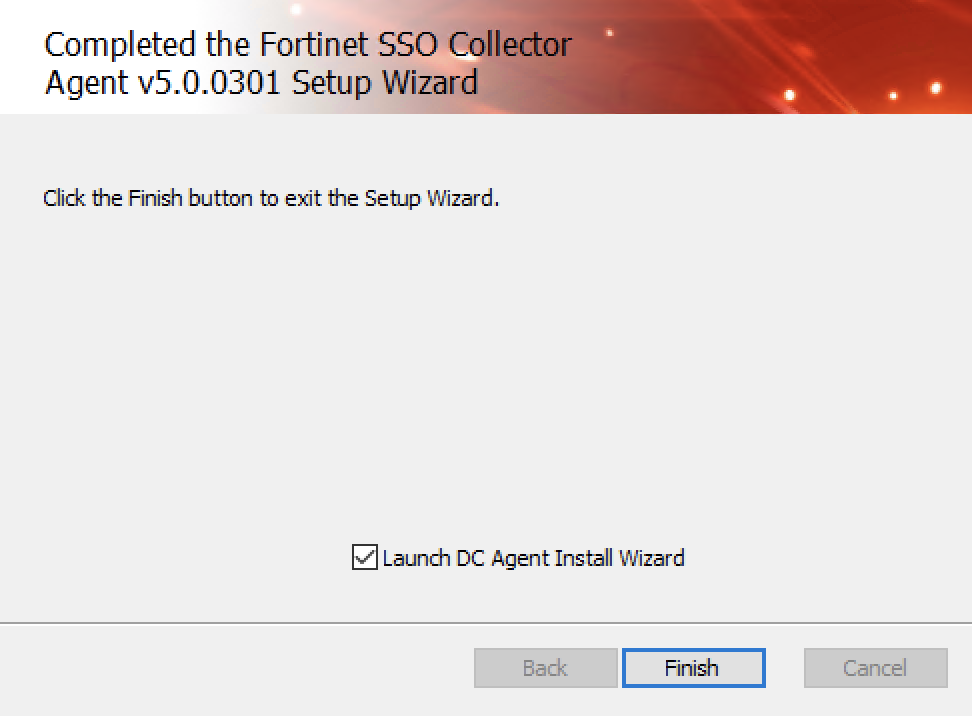
Ensure the option 'Launch DC Agent Install Wizard' is checked and click Finish.
You should get this page to start with:

As this is the same Server I installed the FSSO agent on, I don't need to change the IP address here. Click Next to continue.
On this page, you need to select which domain you would like to monitor:
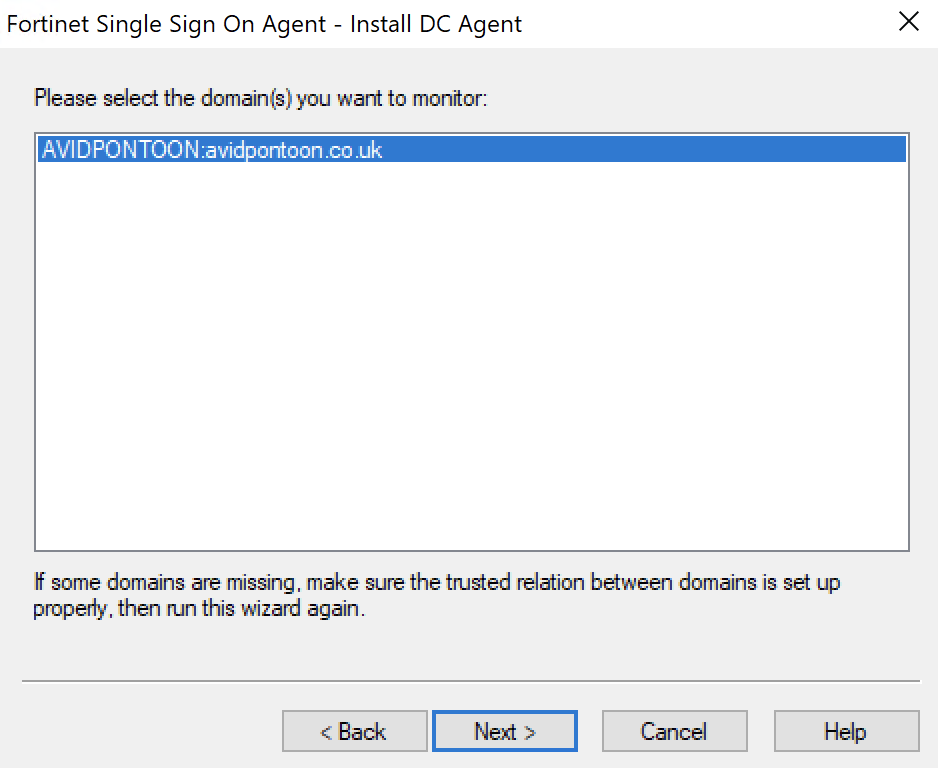
Click Next.
On this page, you need to select which domain you would like to monitor:
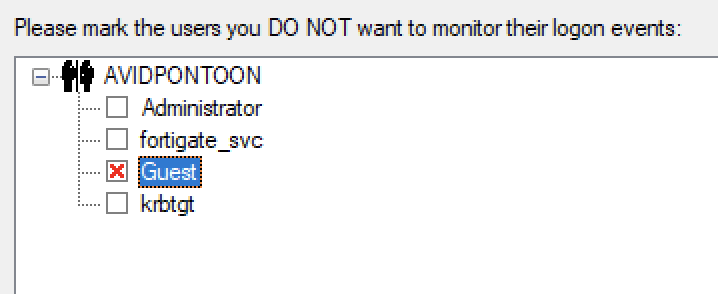
I have selected Guest here as an example to not be monitored.
Click Next to continue.
Here, you are asked to select the domain controllers to monitor and then select the Working Mode. The default is Polling Mode. However, I have changed this to DC Agent Mode as it is faster and more efficient than polling the DC's:
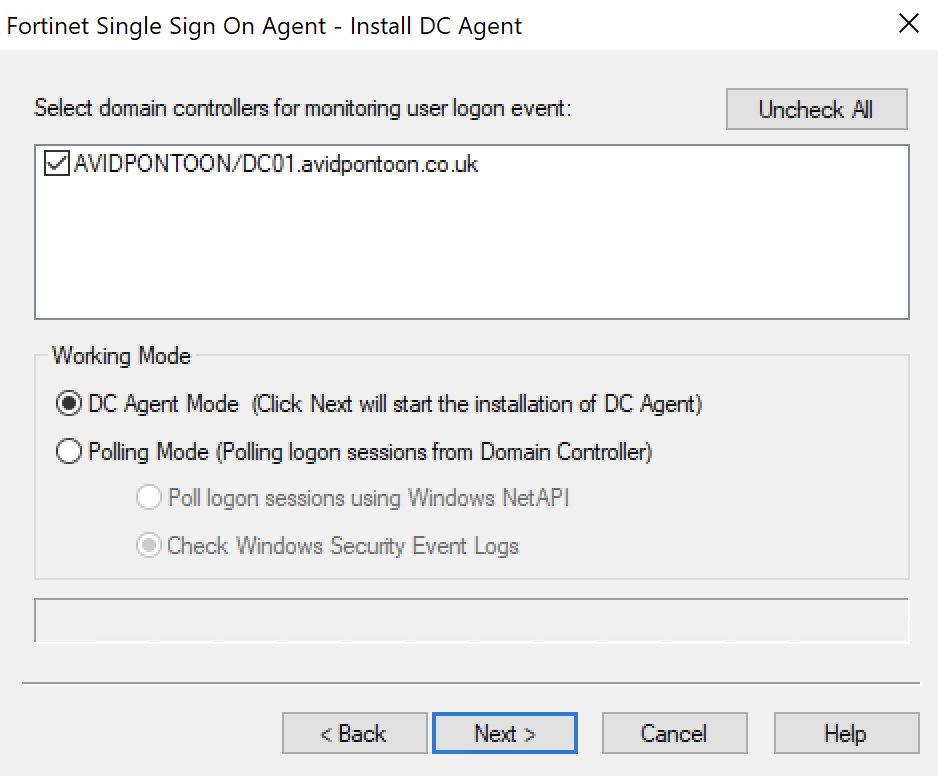
Click Next. You will then be asked to reboot the Domain Controller. You will need to do this to ensure the services start.
Once the server has restarted, you will be able to open the Configuration Utility from the start menu:
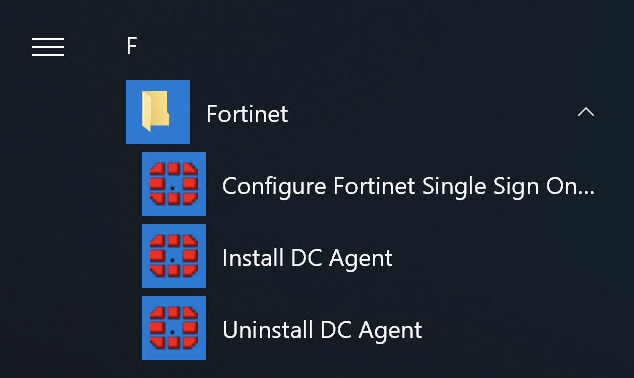
Opening this, you will see the main dashboard with a lot of options:
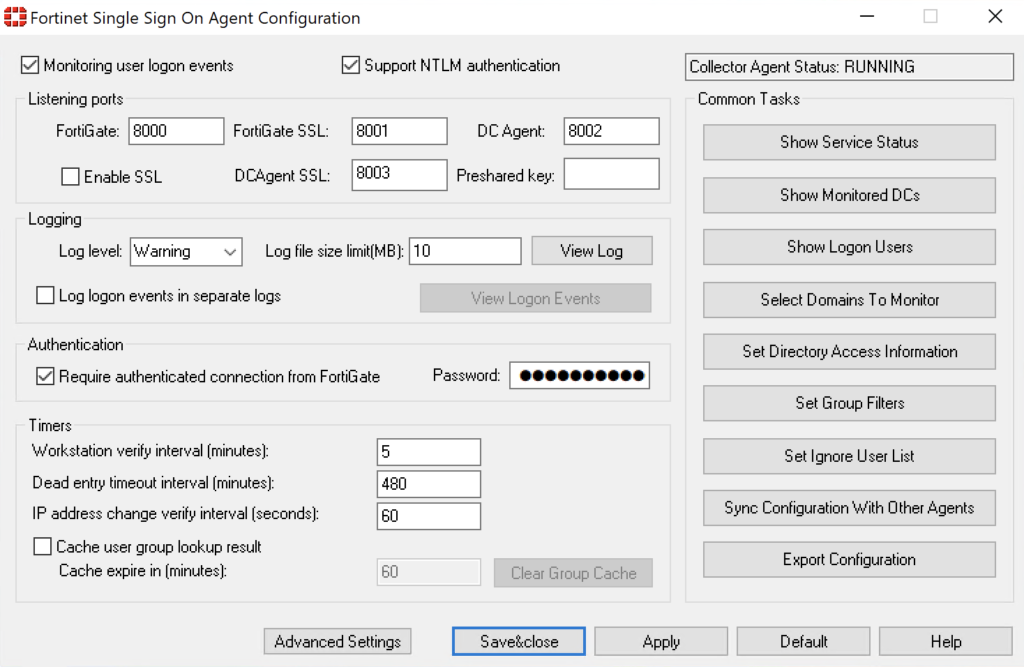
The first thing we need to do, is set the Authentication Password. Ensure this password is strong.
Once changed, click the Apply button. This will restart the service too. Make sure you make a note of this password too as you will need it for the FortiGate configuration.
FortiGate Configuration
Now, we need to configure the FortiGate to talk with the Domain Controller.
From the FortiGate dashboard, navigate to 'LDAP Servers' under 'User & Authentication'. There will likely be no LDAP Servers configured, click 'Create new' to add one.
Once you have entered all the information, click the 'Test Connectivity' button. You should see the 'Successful' icon appear if this worked:
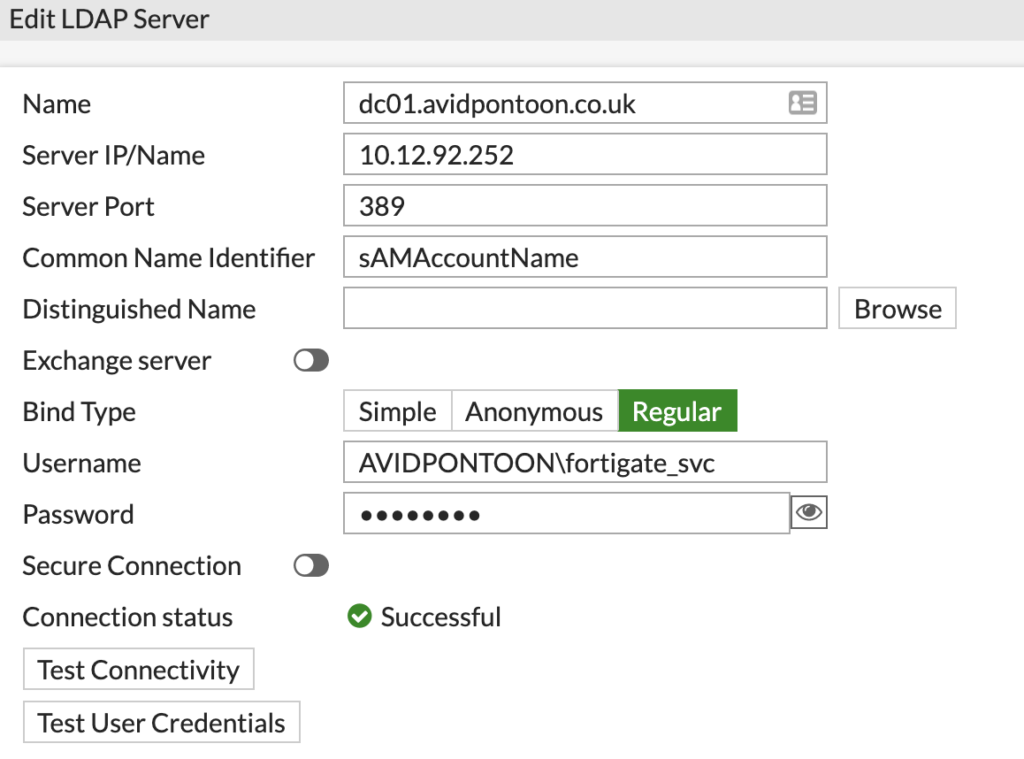
Note: Make sure you put the domain with a backslash before the username or authentication will fail.
Once the connection status shows as Successful, click Browse next to the Distinguished Name and pick the root of the domain:
Click OK once selected.
You should then be able to click OK again to add the LDAP Server to the FortiGate.
You will see it listed under LDAP Servers:

Now, we need to configure the Fabric Connector to interface with the FSSO agent and the LDAP Server.
To do this, under 'Security Fabric', click 'External Connectors' and then 'Create New'.
You will see lots of icons:
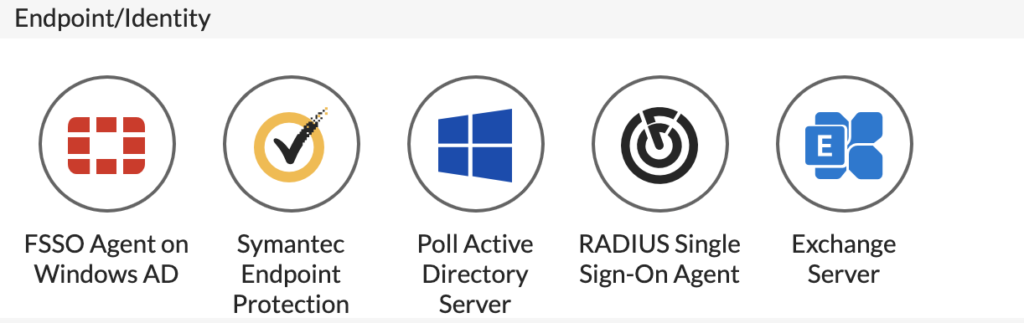
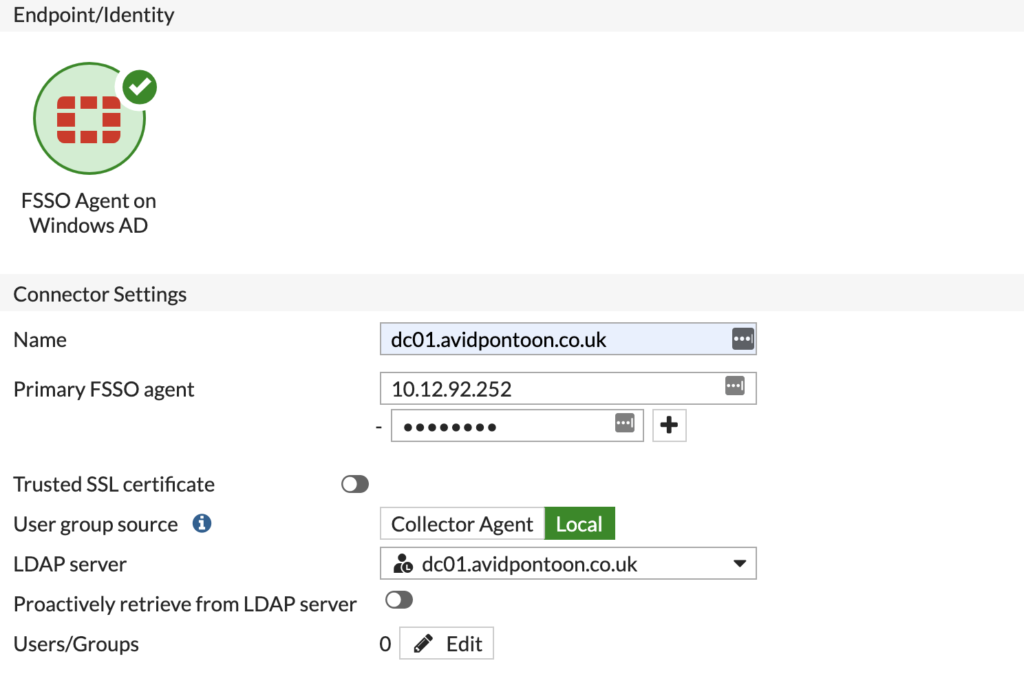
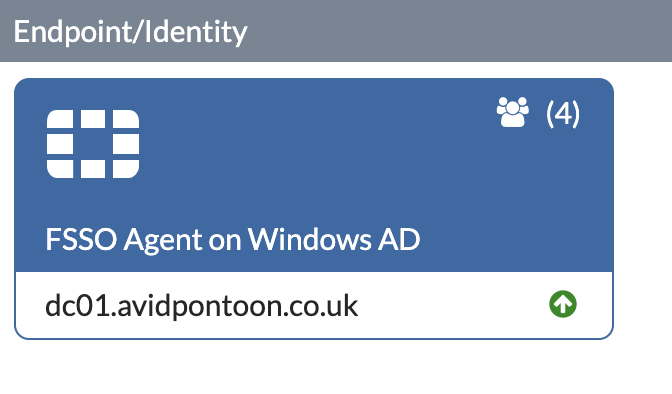
Under Endpoint/Identity, select FSSO Agent on Windows AD.
You should fill in the options and change the Group Selector source to Local and select the LDAP Server you just configured:
Now, we need to select the groups we want to add from Active Directory. This will limit the scope of users that the FortiGate will know about being logged in.
Click the 'Edit' button next to 'Users/Groups'. You will be presented with a pane showing the domain structure:
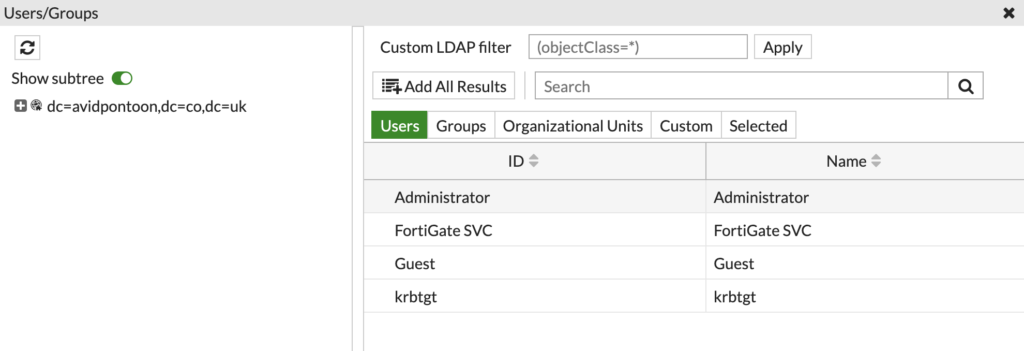
Change the option from 'Users' to 'Groups', and search for the groups created earlier in the OU:
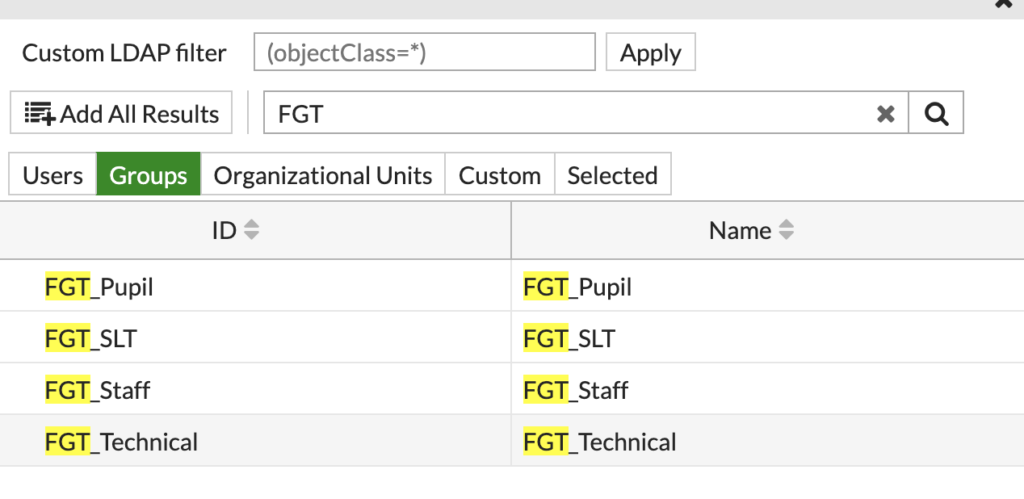
Right click on each group and select 'Add Selected'. You can also select multiple using the CTRL key.
The selected groups will show with a Green tick next to them. Click OK to select those groups.
You will now have a number next to 'Users/Groups' to show how many were selected:

Now, you can click OK to create the Fabric Connector.
After a few moments, you will see the connector appear and it will hopefully have a green UP arrow to show the connection is working. You may need to refresh the page:
If you move to 'Users & Devices' under 'Dashboard', and click into 'Firewall Users', you should see the users that FSSO has found logged in:
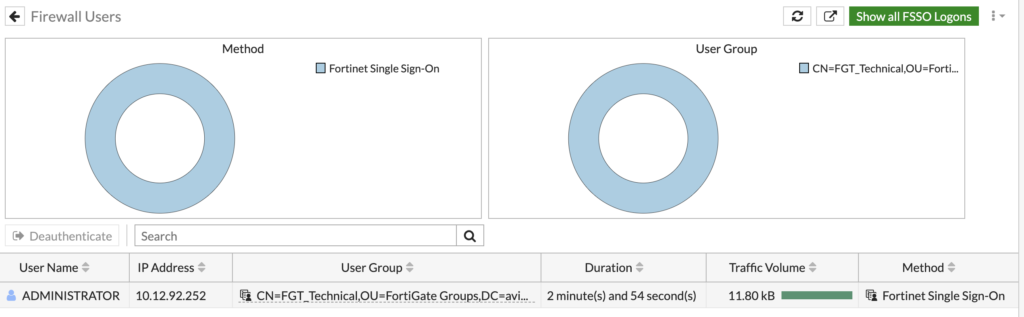
You may need to toggle 'Show all FSSO Logons' to get users to show up.
We can see the administrator account is currently logged into the Domain Controller. The administrator is part of the FGT_Technical group which is shown here too.
Now, we can setup FSSO Groups to allow us to create Firewall policies for each.
To do this, under 'User & Authentication' click 'User Groups'. You will see some default groups already configured. To add a new one, click 'Create New'.
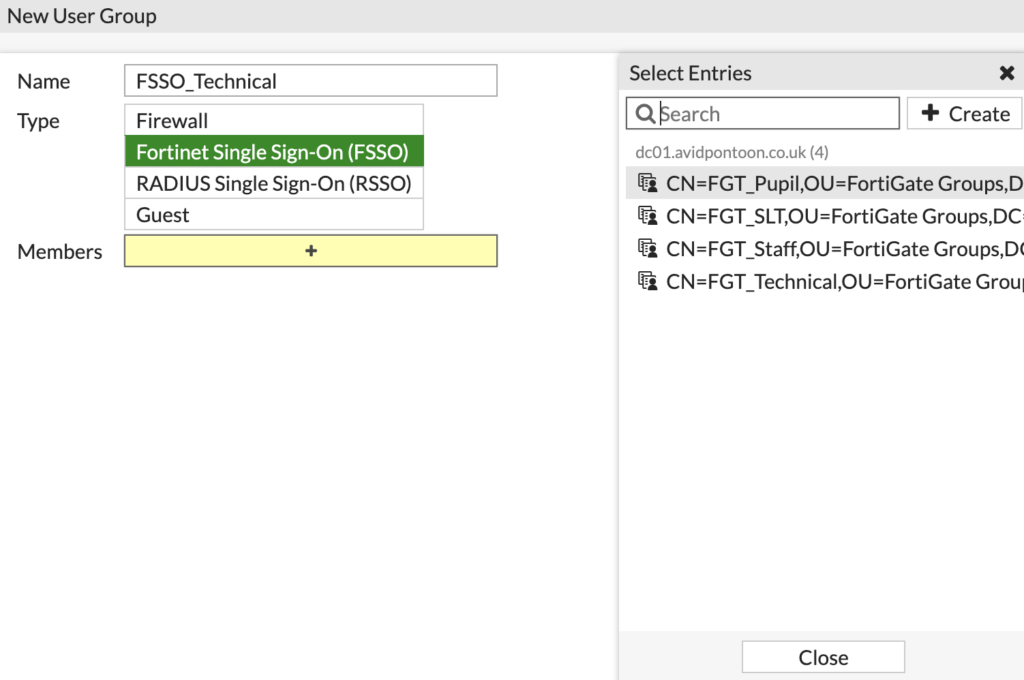
Configure a name for the group and then select 'Fortinet Single Sign-On (FSSO)' for the Type.
Clicking the + icon on Members, we can select the corresponding AD group from its Distinguished Name:
Once the AD group is selected, it will appear under Members:

Click OK to create the group.
Repeat this for all the groups you have, once finished, all the groups should be listed like this:

In the next section, we will look at configuring the web filter with the groups and setup different policies for each.

0 Comments