Now we have provisioned and setup the first VM on the cluster, we can test to see if vMotion is working.
A high level overview of vMotion is that it allows the live migration of VM's between physical hosts within the cluster. This happens with zero downtime. The most we will see would be a couple of ping timeouts.
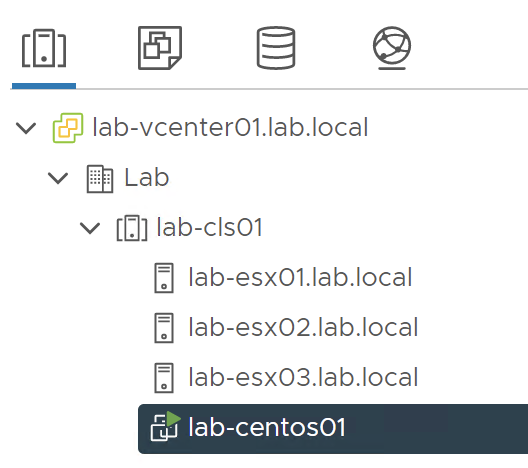
We should see the VM on the left hand panel still:
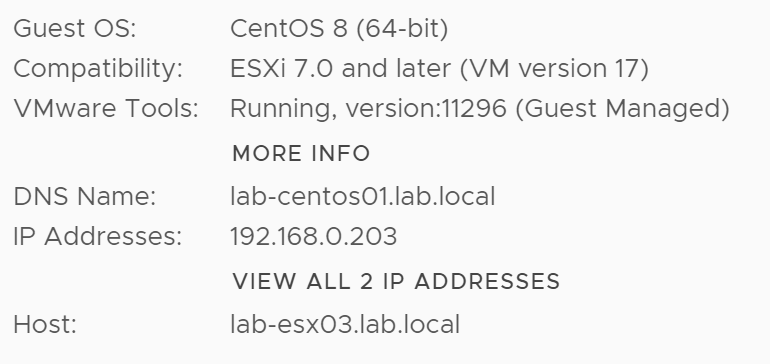
Clicking on it gives us some more information about the VM:
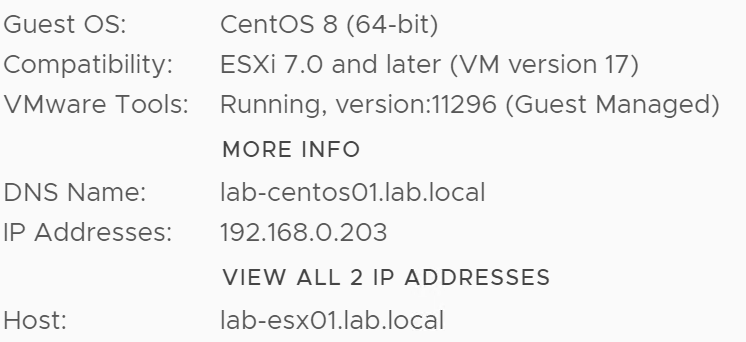
Here we can see that the IP address of the VM is 192.168.0.203 and its current host is lab-esx01.
To test vMotion, I will start a continuous ping from the management VM:
C:\Users\Administrator>ping 192.168.0.203 -t
Pinging 192.168.0.203 with 32 bytes of data:
Reply from 192.168.0.203: bytes=32 time=1ms TTL=64
Reply from 192.168.0.203: bytes=32 time=1ms TTL=64
Reply from 192.168.0.203: bytes=32 time=1ms TTL=64
Reply from 192.168.0.203: bytes=32 time=1ms TTL=64
Reply from 192.168.0.203: bytes=32 time=1ms TTL=64
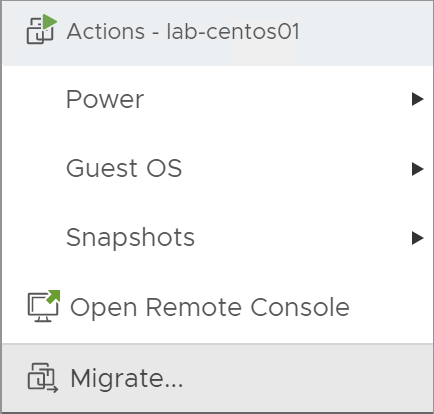
...Now, to move the VM onto another host, right click on it and select 'Migrate':
The migration wizard will pop-up:
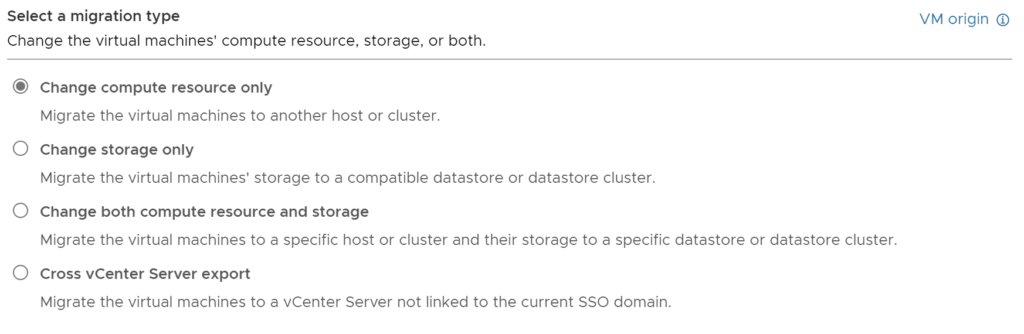
On this first page you will be asked what type of migration you would like to complete. As the hosts all have the same Datastore configured there is no need to migrate both the compute resource and storage. I will keep the top option selected.
Click next.
You will now be asked to select the Host you would like to migrate the VM to:
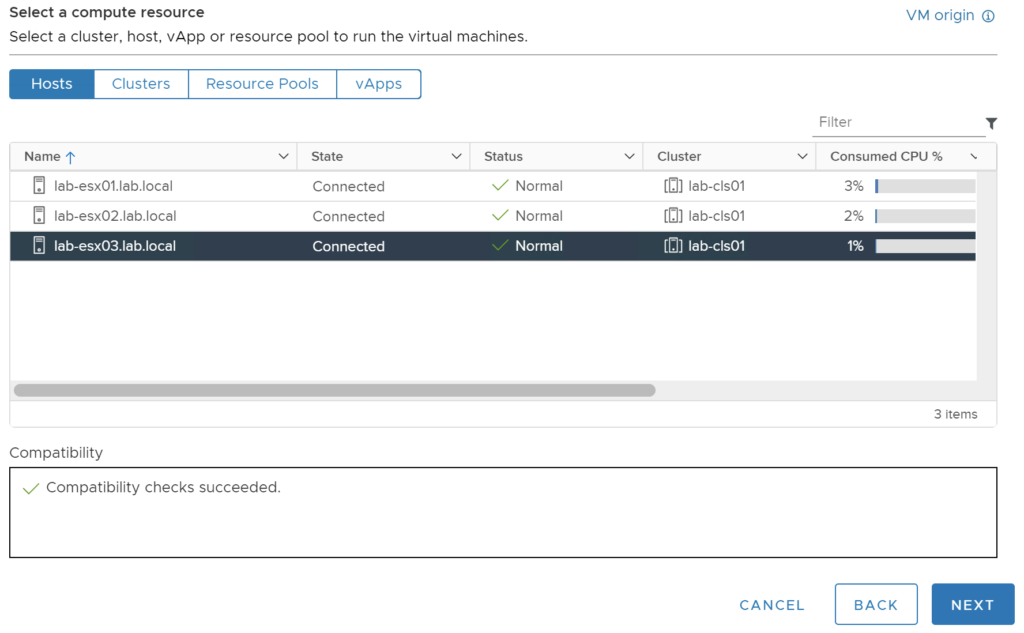
I have chosen to migrate to lab-esx03. You need to make sure that all compatibility checks are successful or the migration would fail.
Click next.
You will be asked to select a port group for the VM on the destination Host:
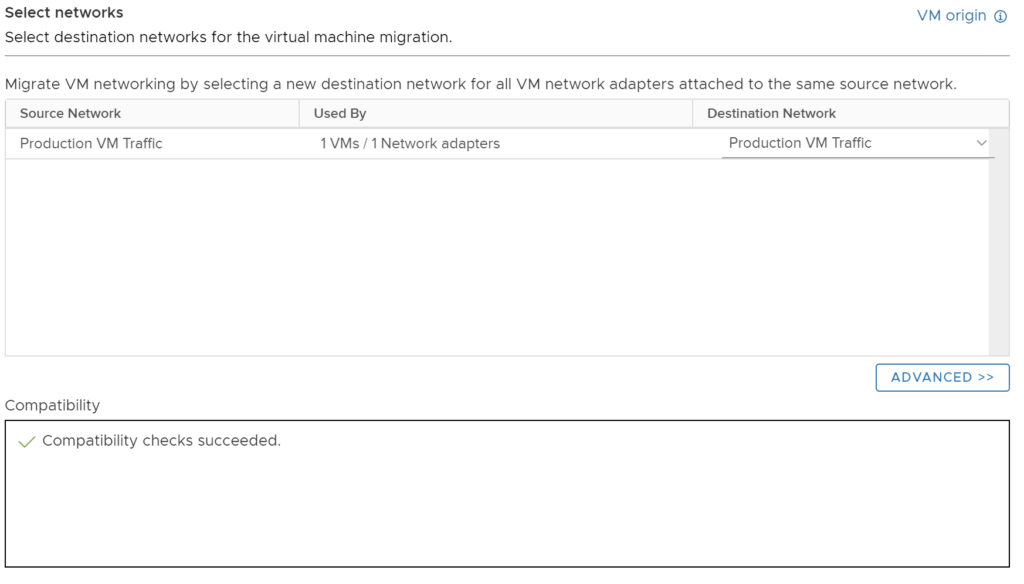
As all the hosts have the same port groups configured, the wizard has already matched and selected the 'Production VM Traffic' port group. Again you need to make sure the compatibility checks succeed.
If the host you are moving to doesn't have the same named port groups, you need to select the port group you would like to use on the destination server.
Click next.
Now you will be asked to set the priority of the migration:
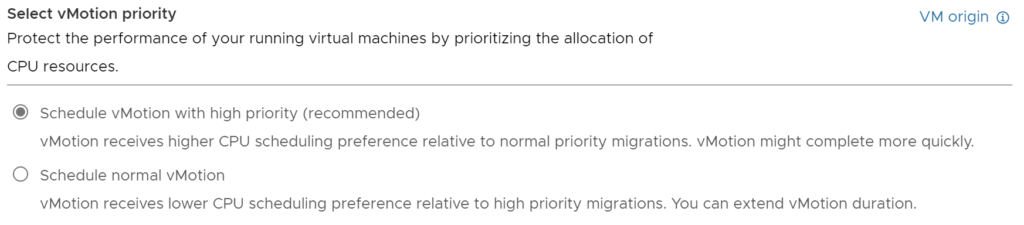
The default and recommended option is to run the migration with high priority. I will leave this as it is but you can experiment with both.
Click next.
On the final page, you will be given a migration summary:
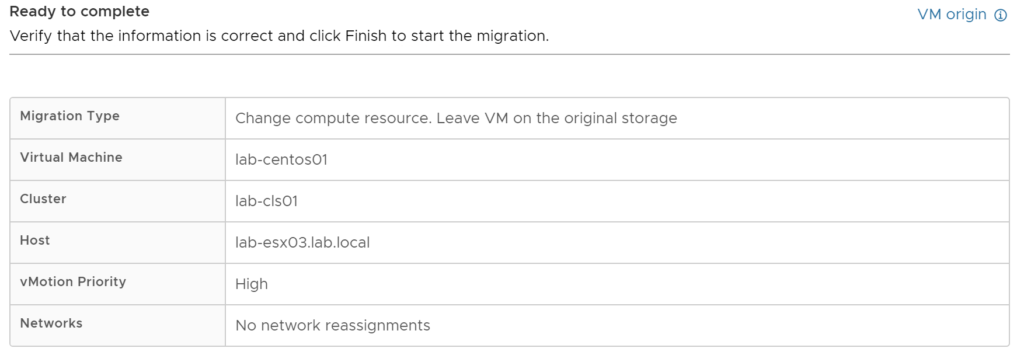
You can check that this summary looks correct and is what you are wanting to happen. In my case, the VM will be migrated from lab-esx01 to lab-esx03 with high priority and no network reassignments.
Click finish to start the migration.
You will see a task appear at the bottom so you can track the progress:

This should complete quite quickly dependent on the VM hardware specification.
On the VM's page, you should now see the host has changed:
If we look back at our ping, we can see there was one timeout and then it picked straight back up:
...
Reply from 192.168.0.203: bytes=32 time=9ms TTL=64
Reply from 192.168.0.203: bytes=32 time=7ms TTL=64
Reply from 192.168.0.203: bytes=32 time=3ms TTL=64
Reply from 192.168.0.203: bytes=32 time=4ms TTL=64
Request timed out.
Reply from 192.168.0.203: bytes=32 time=5ms TTL=64
Reply from 192.168.0.203: bytes=32 time=2ms TTL=64
Reply from 192.168.0.203: bytes=32 time=2ms TTL=64
...
The VM is now running on lab-esx03 and we have proved that vMotion has worked. This will have been using our dedicated vMotion port group on each host as we ticked the vMotion service to be allowed on that port group only.
In the next part, we are going to explore moving from the standard vSwitches that we configured previously, to using Distributed vSwitches.

0 Comments