In this part, we will verify that all 3 ESXi hosts are setup correctly and then setup DNS records on lab-dc01 to point at the relevant IP addresses.
ESXi Host Verification
First of all, we need to make sure that we can login to each hosts web interface. I will only show lab-esx01 in this section for brevity.
Accessing the host via the IP address should show this login page:
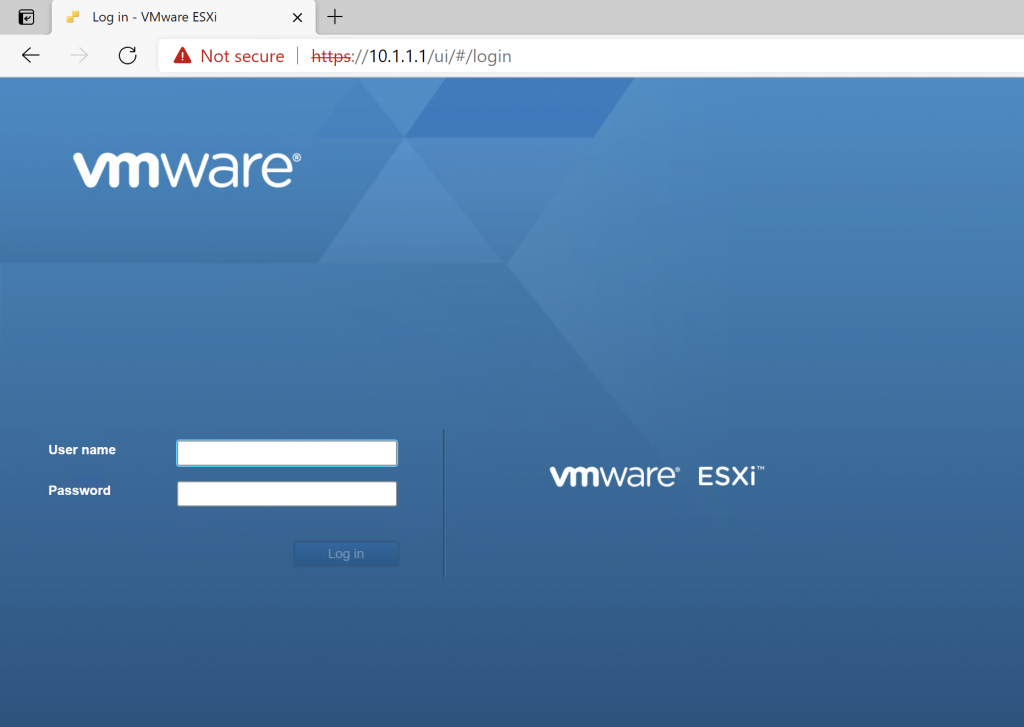
Here, we need to login with the credentials that were setup during the initial installation, the username is root.
You should get to the main dashboard:

There are no warnings or errors displayed on the main screen so we are okay to continue. You should take the time to verify that the hardware detected by ESXi is correct and shows up properly.
This should be verified for each host to ensure they are all running without any errors.
Domain Controller DNS setup
As I mentioned previously, I have already done a guide on how to install Windows Server 2019 here. So will not explain the installation here.
The VM configuration is:
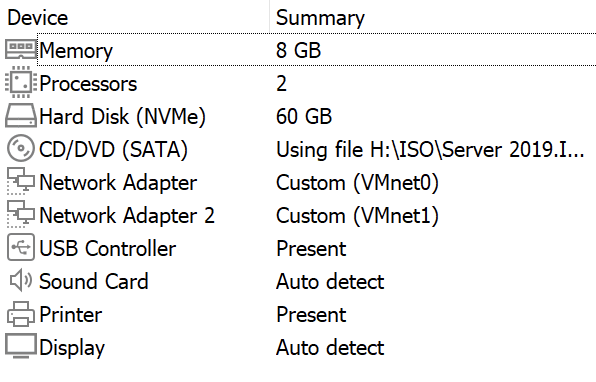
The reason for having two Network Adapters is so I can access the internet using VMnet0 and then the internal management network using VMnet1. The IP address of lab-dc01 is 10.1.1.254.
This is not a Windows Server course so I will not explain in detail how to set this up. The main goal is to get DNS working so the hosts and vCenter can communicate using DNS names rather than by IP address. This makes management a lot easier as hostnames are used instead of IP addresses.
Once you have setup Windows Server as a domain controller, you should open the DNS Management panel and add DNS records like this:

This maps the IP addresses to hostnames, we can now test this by pinging the hostnames from the DC:
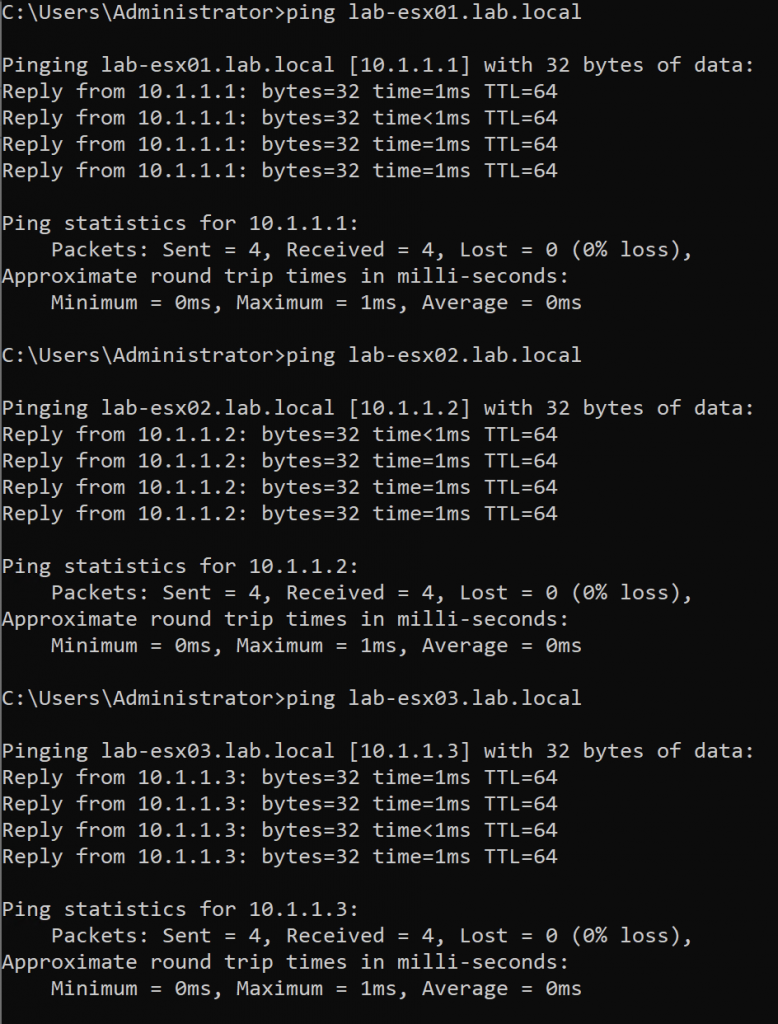
This shows that we now have DNS working on the management side. The next thing to configure is each ESXi host to point at the DNS server and set their hostnames.
DNS Setup in ESXi
We will begin by doing this on lab-esx01. First you need to log back into the web interface
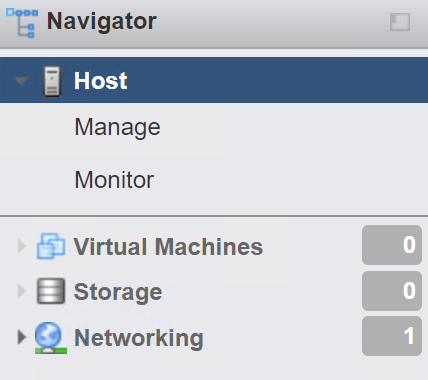
On the left hand side navigation, click on 'Networking':
You will be presented with the below panel:

To setup DNS, click on the 'TCP/IP stacks' tab.
You should see the 3 options below:
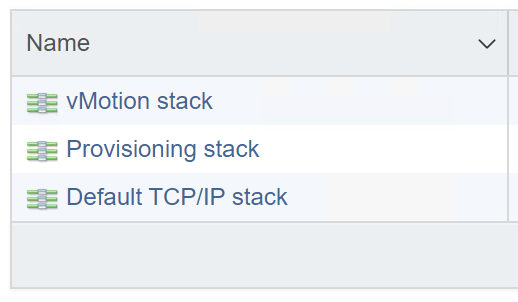
Click on 'Default TCP/IP stack' and click 'Edit settings'. A new window should open:
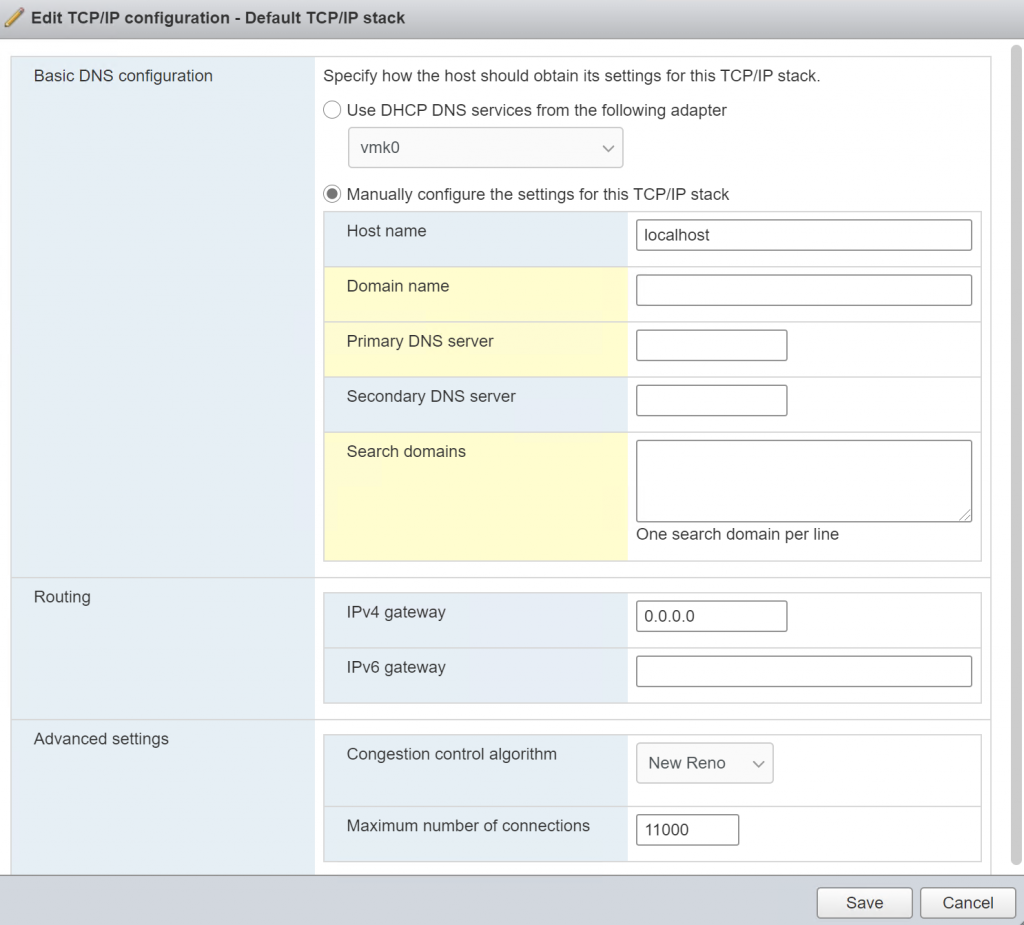
On the panel that opens, I will enter the below into 'Basic DNS configuration':
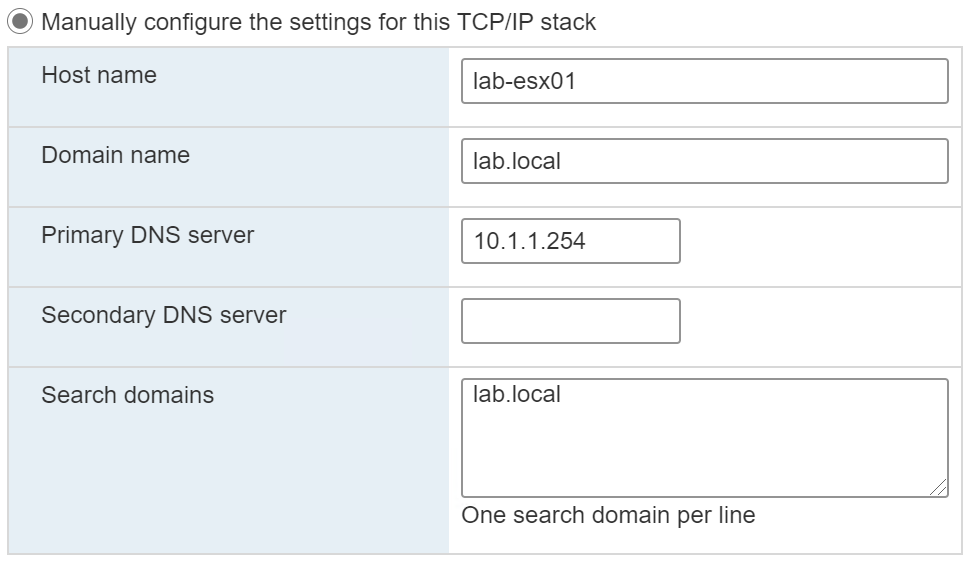
This will set the hostname, domain name and the DNS server. Press Save to apply the changes.
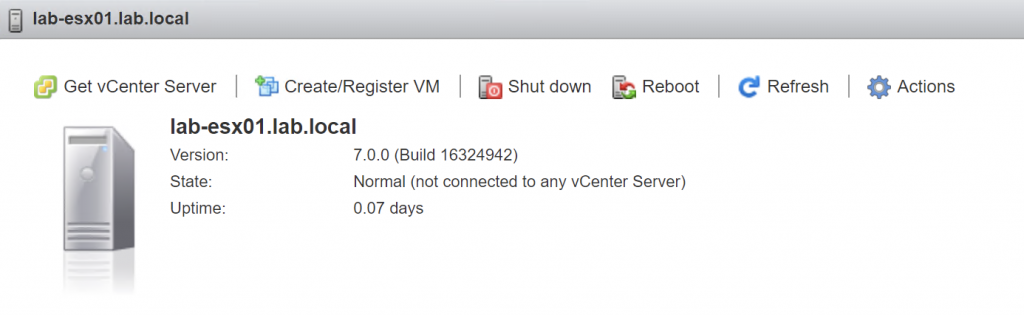
To verify this has applied, you can go back to the main dashboard by clicking 'Host' on the left hand navigation bar. On the host dashboard, you should see the name has changed from 'localhost.localdomain' to the hostname you set:
This process should then be replicated on lab-esx02 and lab-esx03. With the only changes being the hostname set.
We are now in pretty good shape to begin setting up vCenter to begin managing these 3 hosts. We will do that in the next part!

0 Comments