In this part, we will setup the vCenter Virtual Appliance to manage the 3 ESXi hosts.
Deploying the vCenter Virtual Appliance
You need to download the ISO for this before you can install it, you can get a trial from this link: Download VMware vSphere - My VMware.
Once you have downloaded the ISO. You need to mount it on the host. You should see the following folder structure:
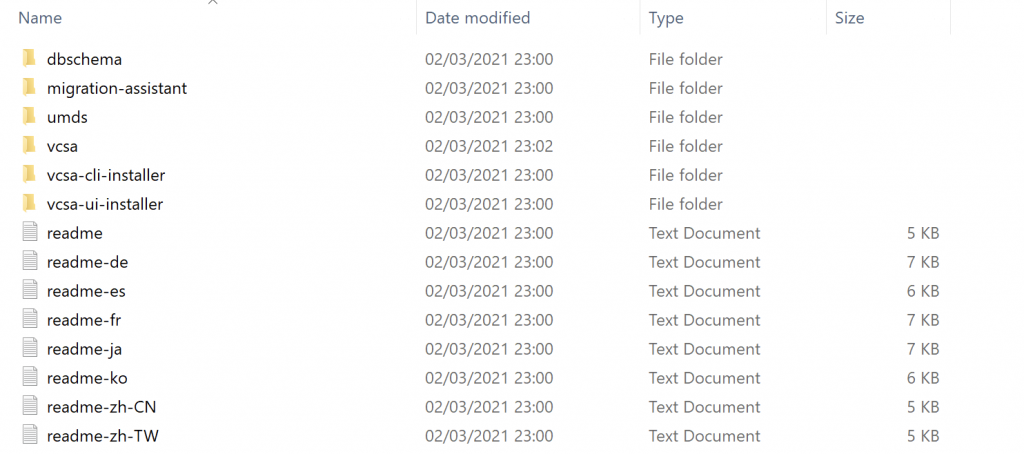
Inside the 'vcsa' folder, there will be an OVA file to deploy:

You should be able to double click on this file an VMware will know to import the Appliance.
You will be asked to Agree to the End User Agreement. After that, you will be asked what you would like to name the VM and where to install the VM on disk:

You will get some deployment options for the VM. For this lab, I have selected 'Tiny vCenter Server with Embedded PSC'. After that, you will be asked to enter some information about the Appliance before it gets deployed. We will focus on the Networking Configuration only at this point:

The configuration above is what I have configured, the VM networking will fail if you don't enter a default gateway, for this lab, I have entered the IP address of lab-dc01 as the gateway. However, this is not acting as a router.
Once you have entered the details for your environment, click Import and the VM will begin to import into VMware Workstation. This process may take some time.
Once the import has completed successfully, you will see it appear in the list of Virtual Machines.
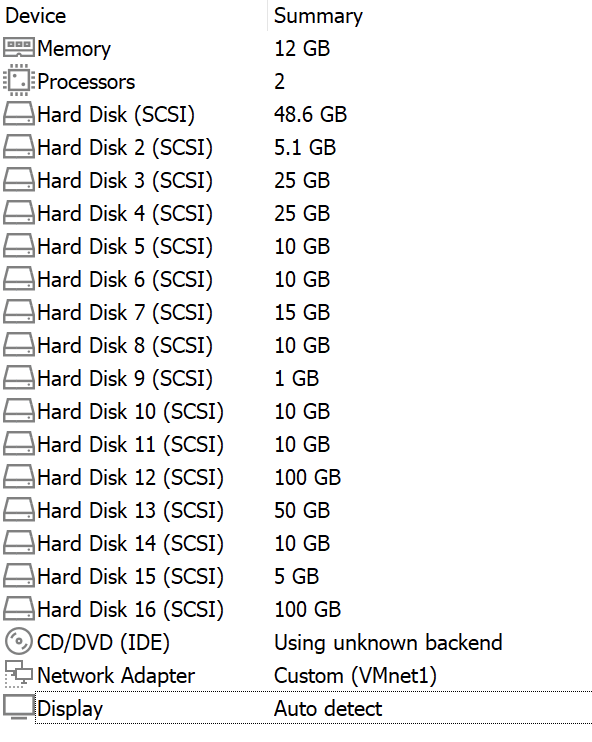
The last thing we need to do before we can power it on is make sure the Network Adapter is on VMnic1, allowing it to communicate on our management network. The configuration should look like this:
We are now ready to switch the VM on and begin the initial setup.
Initial configuration of the vCenter Virtual Appliance
The VM will take a while to boot up for the first time, once you see a screen like the below, you should be ready to configure:
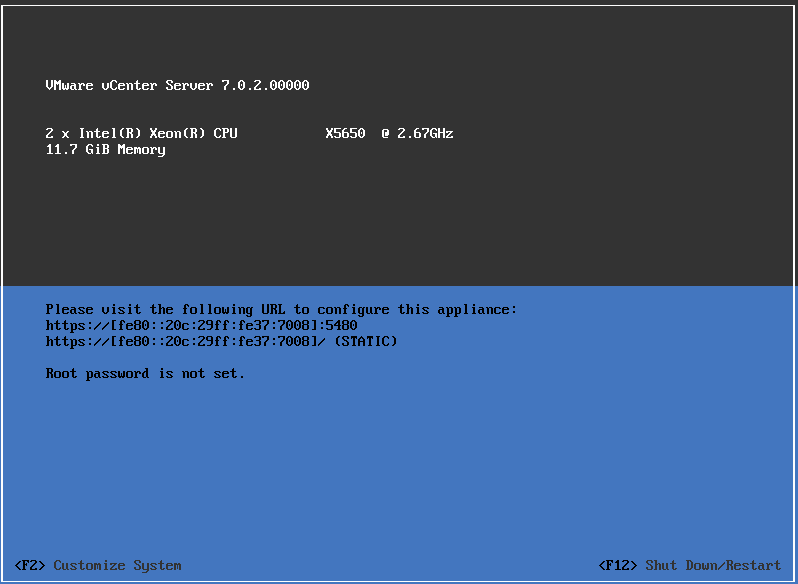
To start off with, we need to set a password, pressing F2 will prompt you to set the root password:

Once you have entered a password and pressed Enter, you will see a screen that resembles the menu system on the ESXi hosts.
For some reason, the settings I added in the initial setup of the appliance have not applied. If this happens to you, navigate down to 'Configure Management Network', this menu will appear:
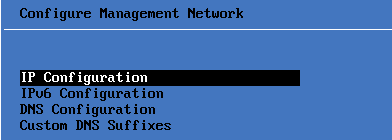
Navigate to 'IP Configuration' and press Enter. You will see the below box appear:
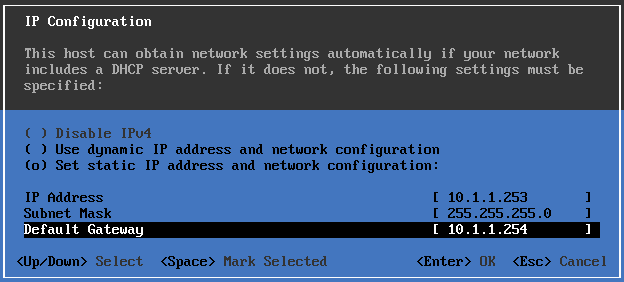
You should navigate down to the bottom option to set a static IP. Then enter the details in the boxes provided. The IP address matches the DNS record we configured earlier for lab-vcenter01.lab.local.
Once you have set the IP address, press enter to save the configuration. You should be returned to the Management Network menu. You will also need to setup the DNS Configuration, to do this, navigate down to 'DNS Configuration' and press enter. This box should appear:
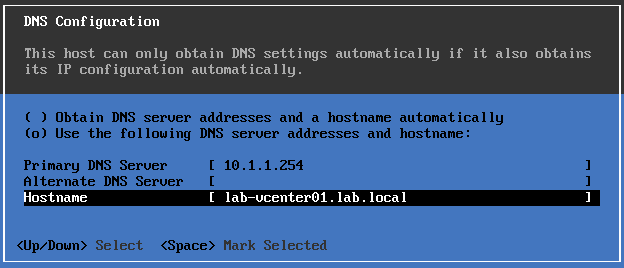
Here you need to go down to the bottom option, press space and then configure the primary DNS server and hostname. Here the Primary Domain Server is 10.1.1.254 (lab-dc01) and the Hostname matches the DNS record we created.
Once this has been set, press enter to save the configuration. Now the IP address and DNS settings have been configured, we need to restart the management network to apply them. You can do this by pressing esc. This alert will appear:
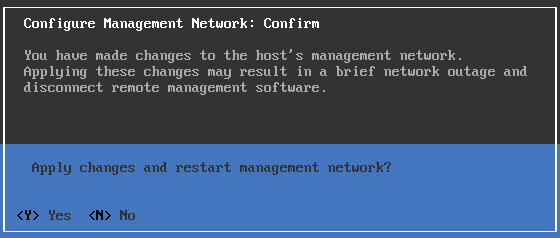
Pressing Y will restart the management network and apply the settings we have just configured. Sometimes the VM will need a full restart before you can communicate with it on the network.
Finally, lets verify that we can ping it using the hostname we configured before:
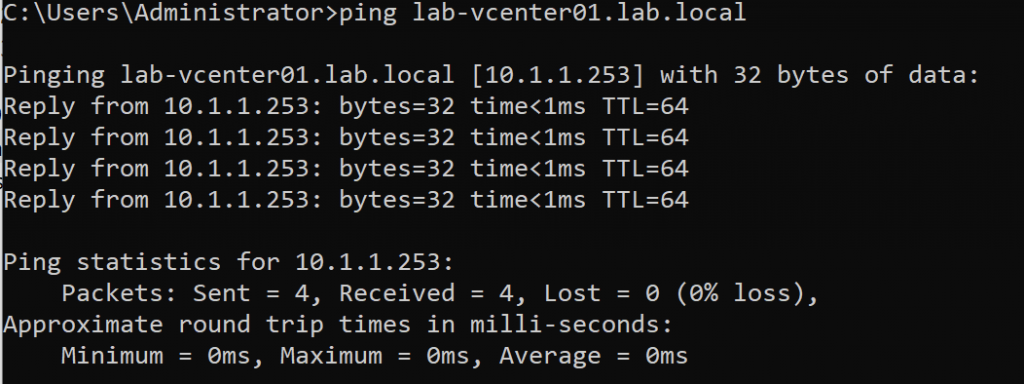
We now have working communication with the vSphere Virtual Appliance, lets configure it!
Main configuration of the vCenter Virtual Appliance
To access the setup for the appliance in the first instance, we need to go onto a web browser and navigate to https://lab-vcenter01.lab.local:5480/
You will be asked to login first:
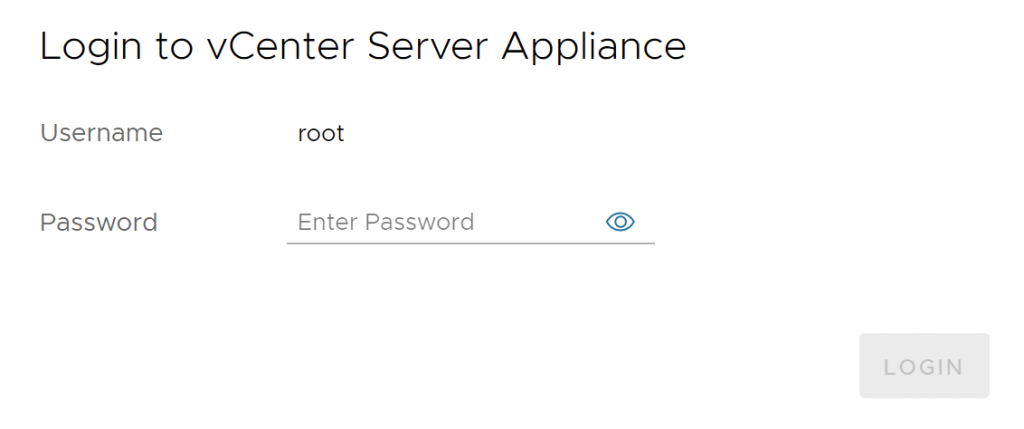
This is the password that you setup during the initial configuration. Once entered, you will see the main setup options:
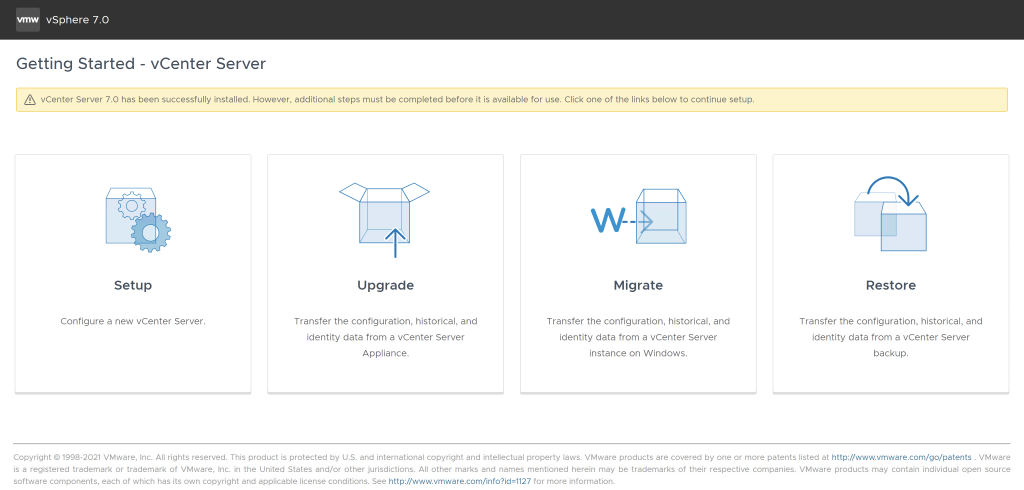
To setup a new vCenter server, click on the 'Setup' option. That will take you to an Introduction page, press Next.
You will be presented with this screen:

We have already setup the Network configuration, so this can be left with existing settings.
If you have an NTP server on the network, you should change the time synchronisation mode to NTP or you can synchronise it with the ESXi hosts. This is strongly recommended in a production environment but as we are in a lab, I will leave this as disabled.
SSH Access should be disabled unless there is a specific need for it. This includes if you plan to configure vServer High Availability.
Once you have set the options, click on Next. You should see this screen:
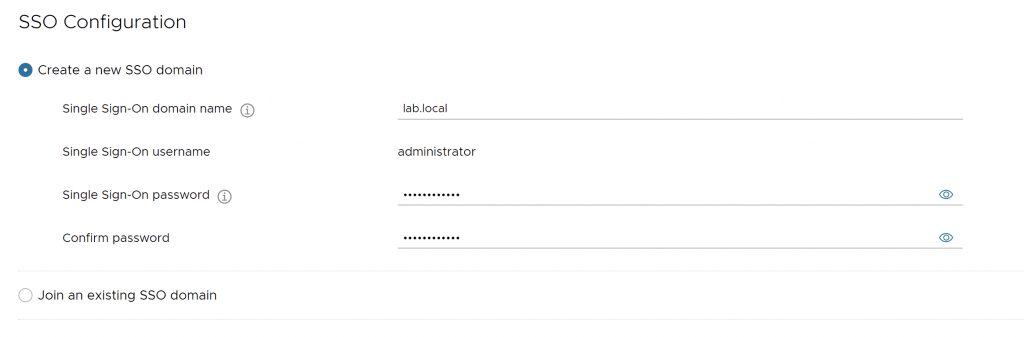
This next section is for SSO (Single Sign-On) on the vCenter host. I have configured lab.local as the domain name and have set a password. This is local to the vCenter host and is not interfacing with the Active Directory domain. Once you have set a domain name and password, click on Next. Note you can also add this host to an existing SSO domain if you have one.
In the next section, you will be asked if you would like to join VMware's Customer Experience Improvement Program. This is a choice made by you.
On the final screen, you will be shown all the configuration to review:
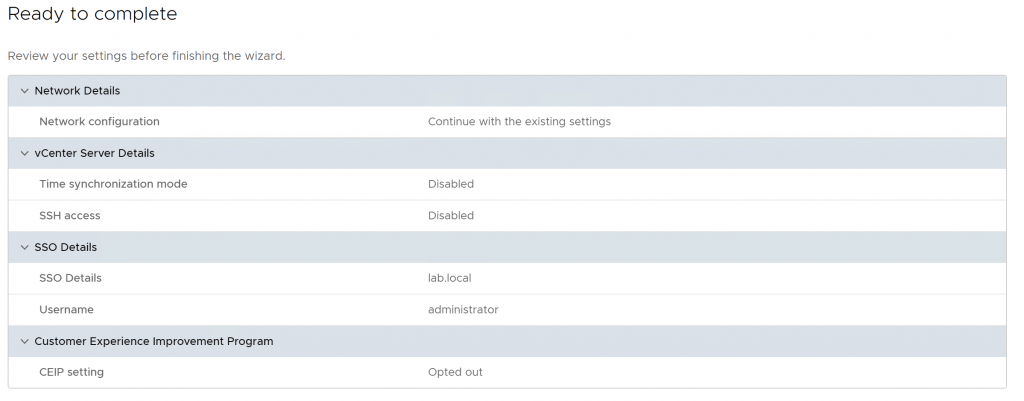
If you are happy with the configuration, click Finish.
You will see a warning that you are not able to stop the configuration once you have started it:
Click on OK. You will see the installation progress bar begin to move.
The installation will take a while to complete. However, once it has completed, you will see the vCenter main login screen:
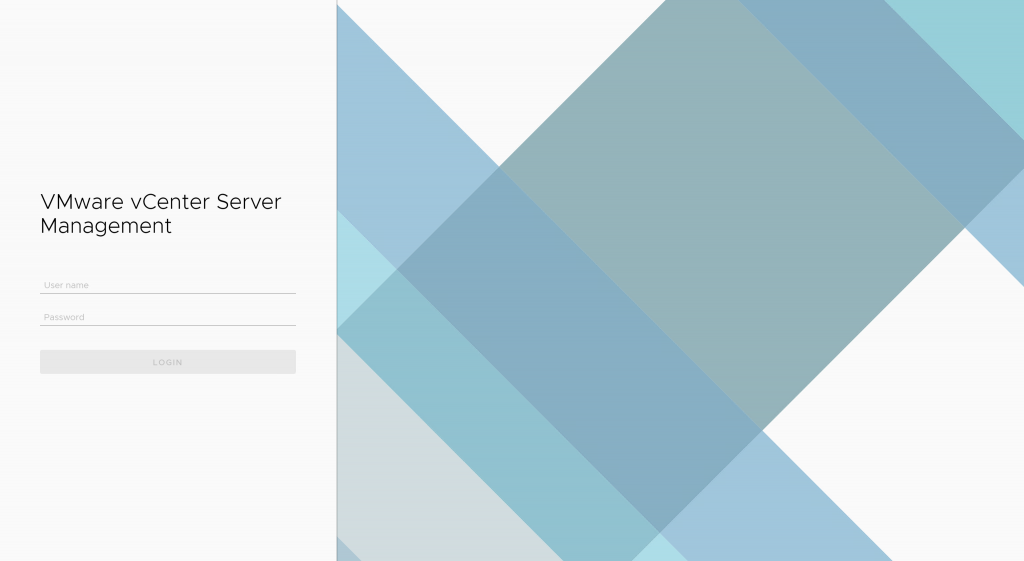
We have now successfully configured the vCenter Virtual Appliance for use. Next we will continue the setup by implementing the storage server.

0 Comments