Now we have tested that live motion works and that now all aspects of the network have been tested, we can begin the migration from Standard vSwitches to Distributed vSwitches. This allows central management of cluster networking.
We will begin by creating the new Distributed vSwitches we need.
Creating Distributed vSwitches
Within vCenter, move over to the networking tab:
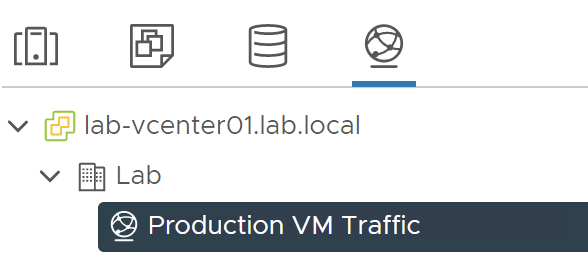
At the moment we only see the Production VM Traffic port group as this is providing connectivity for VM's.
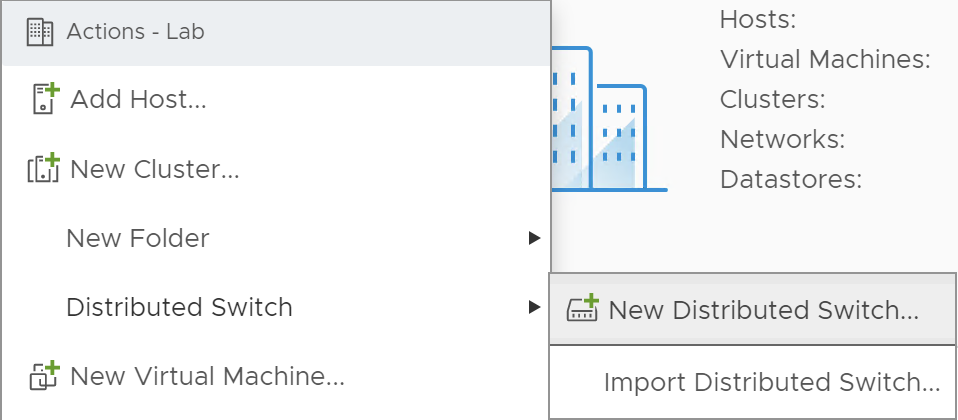
To create a new Distributed vSwitch, right click on the Datacenter and click Distributed Switch > New Distributed Switch:
The following wizard should appear:
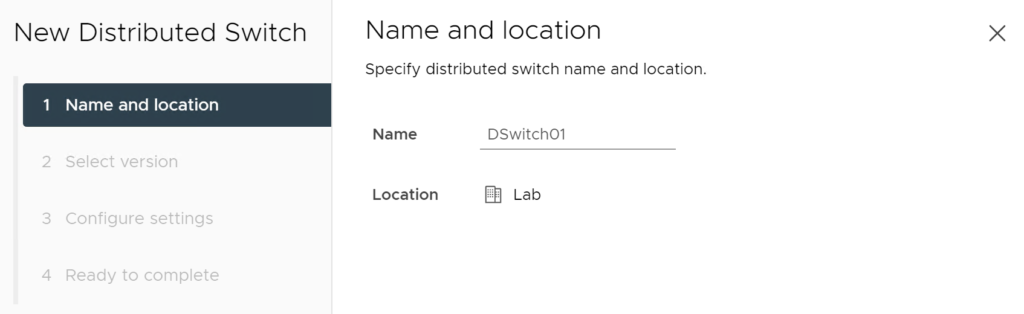
I have given this first switch the name 'DSwitch01'. This will be used the same as the main standard vSwitch we created before and will have all but iSCSI configured on it.
Click next.
Here you need to select the switch version:
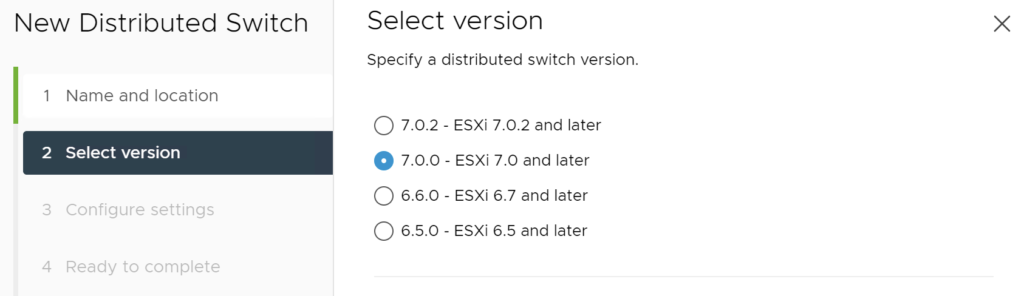
As my hosts are running ESXi 7.0. I have selected that. The default here is 7.0.2 which would not allow me to add the hosts later on. So be careful.
Click next.
Here you will need to set the number of uplinks you need:
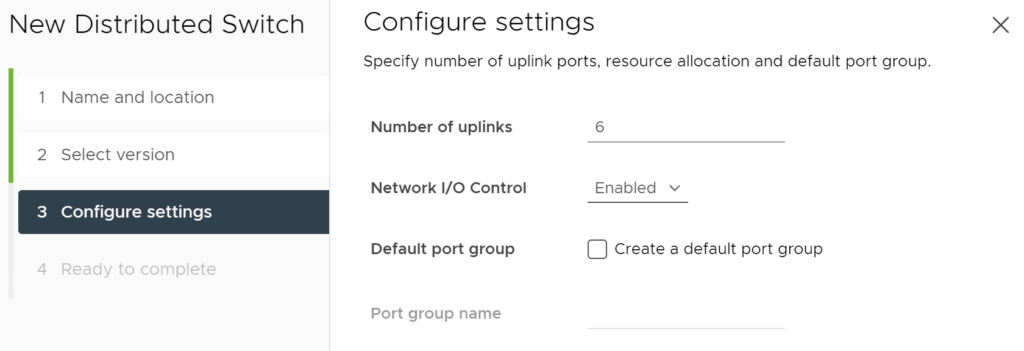
In my scenario, I need 6 uplinks, as you assign the same uplinks to each host. I have also unchecked the 'Create a default port group' option as we will configure these later.
Click next.
You will be shown a summary:
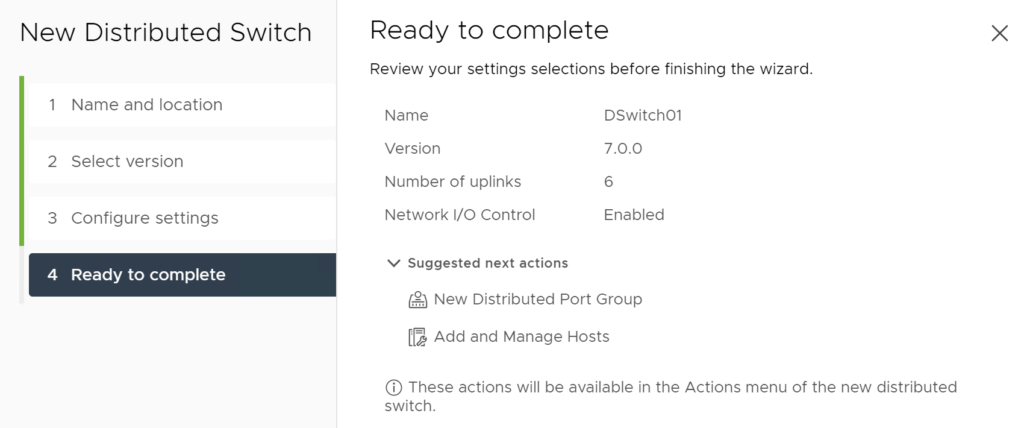
Everything on here looks correct, click Finish to complete.
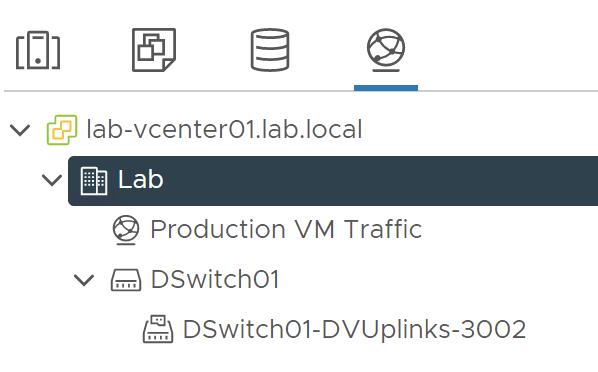
The DSwitch should appear in the tree:
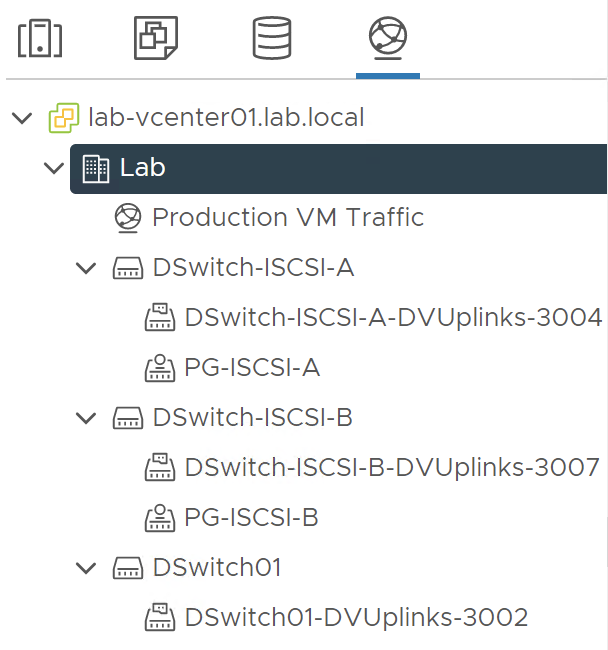
Now we need to create two more DSwitches called DSwitch-ISCSI-A and DSwitch-ISCSI-B. Changing the uplinks to 2 and creating a default port group for each PG-ISCSI-A and PG-ISCSI-B.
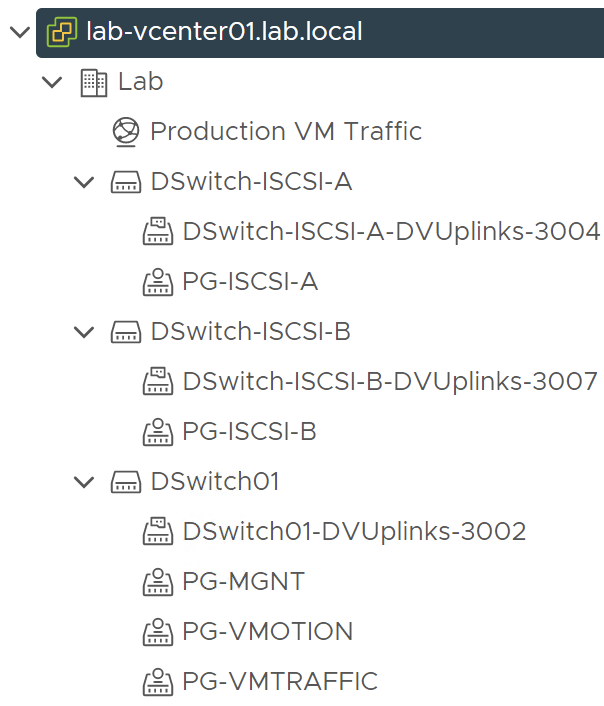
It should look like this once complete:
Creating port groups within DSwitches
Now we have all 3 Distributed Switches created, we need to add the port groups to the first one we created.
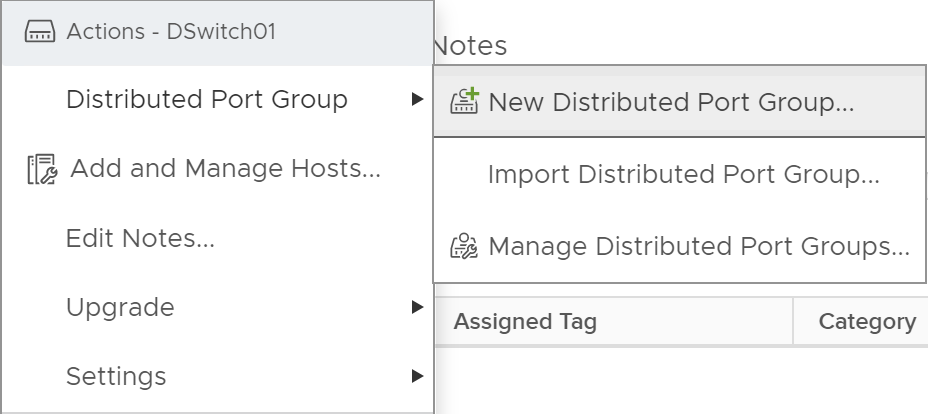
We can do this by right clicking on DSwitch01 and selecting Distributed Port Group > New Distributed Port Group:
The Port Group wizard should appear:
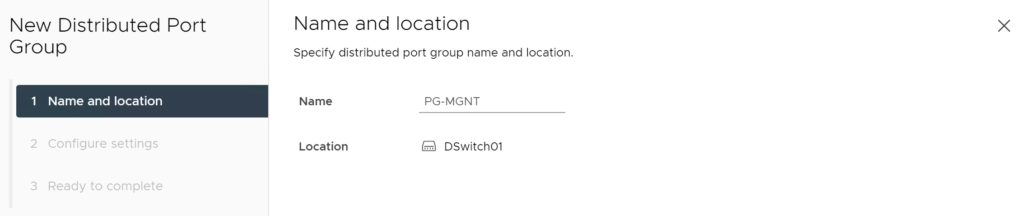
On this first page, we need to create a name for the Port Group. This one will be called PG-MGNT and will replace the current Port Group for management.
Click next.
Now you need to configure the settings:
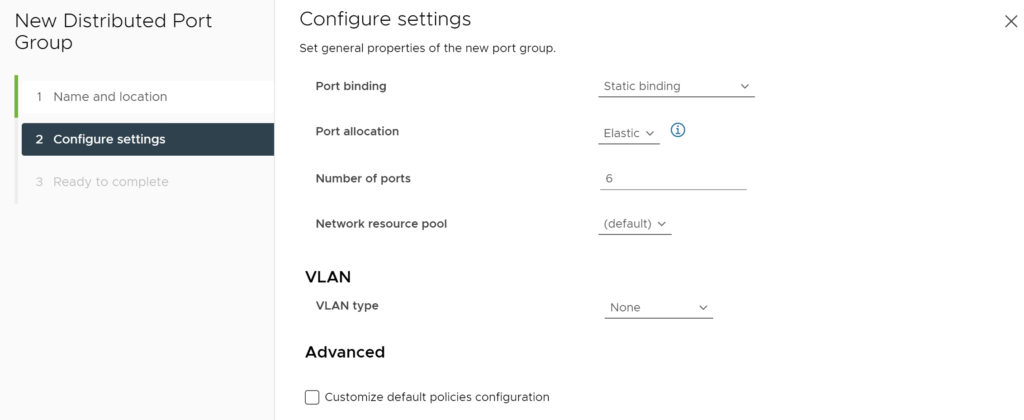
For this Port Group I have left the default set but have changed the number of ports to 6 (to allow for future expansion).
Click next.
You will be shown a summary of the Port Group before it is created:
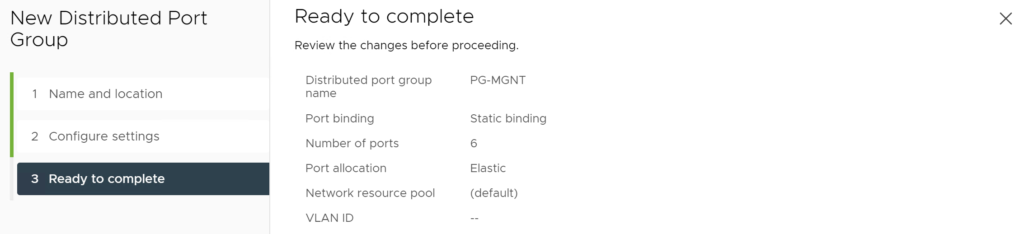
This all looks correct so we can click Finish.
Now we need to create the following other port groups: PG-VMOTION, PG-VMTRAFFIC. The vMotion Port Group can have 6 ports too. However the VM Traffic port group may need more ports as these are for your VM's
Once they have been created the same way, the tree should look like this:
Assigning uplinks to Distributed Port Groups
Now we have the Distributed Switches and the Port Groups configured. Much like with the standard port groups, we need to assign each of them to uplinks.
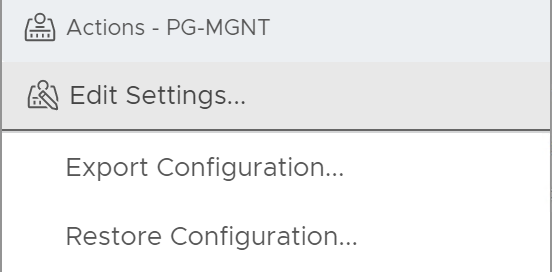
Still within the networking tab, right click onto one of the Distributed Port Groups under DSwitch01 and click Edit Settings:
Once the page opens, move to the 'Teaming and Failover' section. You should see something like this:
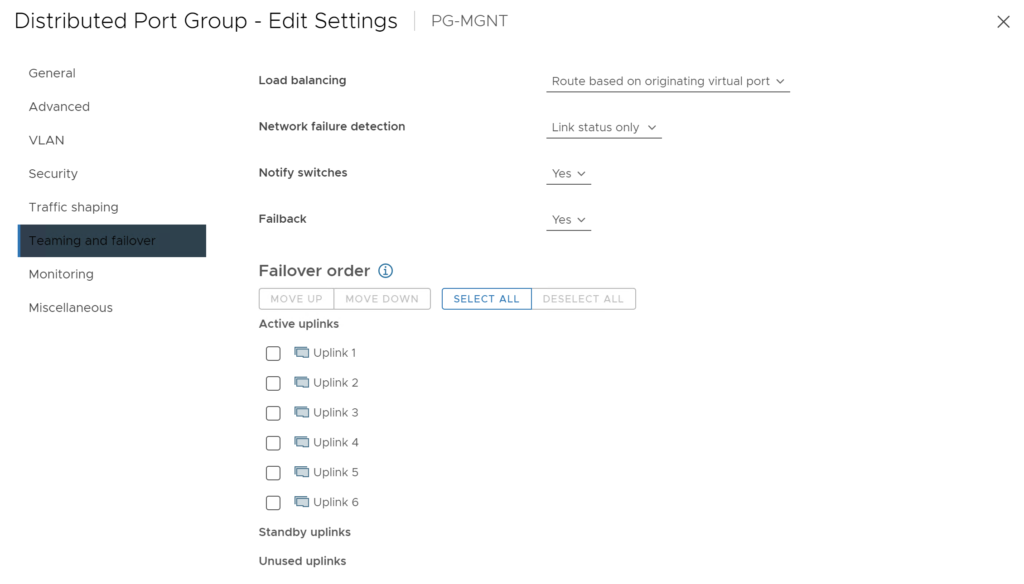
Here are our Uplink assignments:
PG-MGNT - Uplink 1 and 2
PG-VMTRAFFIC - Uplink 3 and 4
PG-VMOTION - Uplink 5 and 6
To assign the Uplinks, tick the ones that don't apply to the port group and move them down to 'Unused uplinks'.
For the Management Port Group, it should look like this:
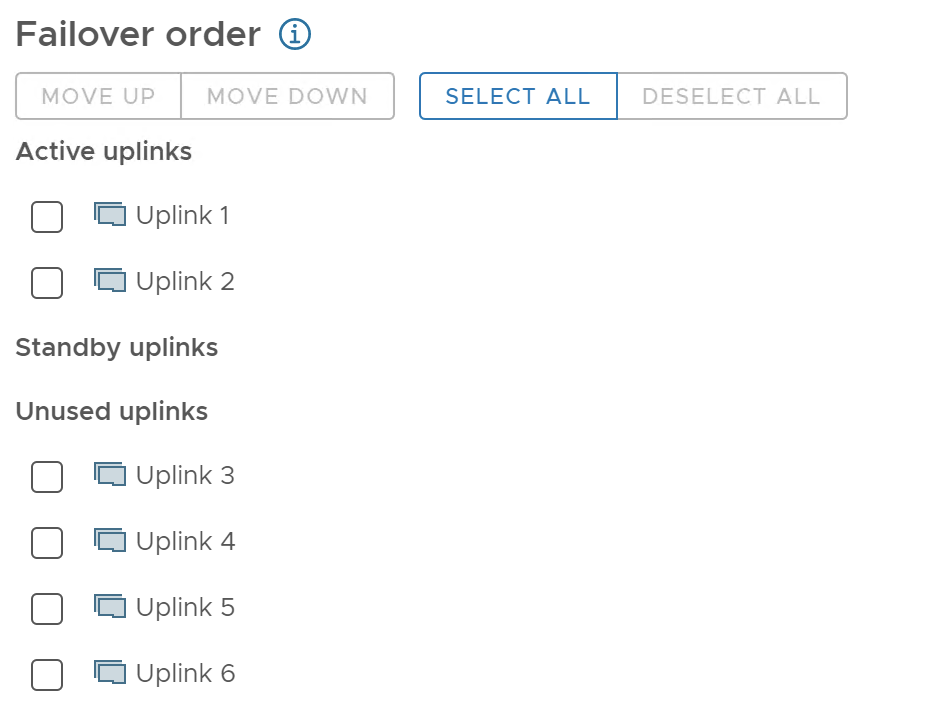
You need to complete this for the other two Port Groups in DSwitch01 and ensure only the uplinks required are the ones under Active Uplinks.
Once completed, we are ready to migrate the hosts over to the Distributed Switches.
Adding hosts to Distributed Switches
This is the final step to getting the hosts setup with the new switch configuration.
To begin, right click on DSwitch01 and select Add and Manage Hosts:
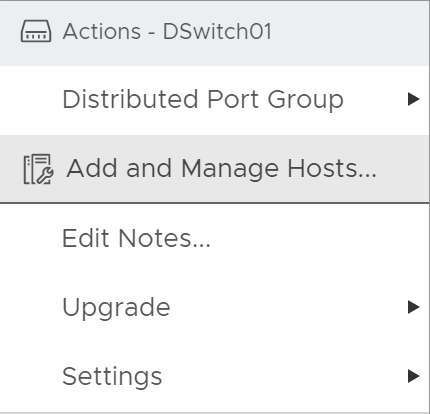
The following wizard will appear:
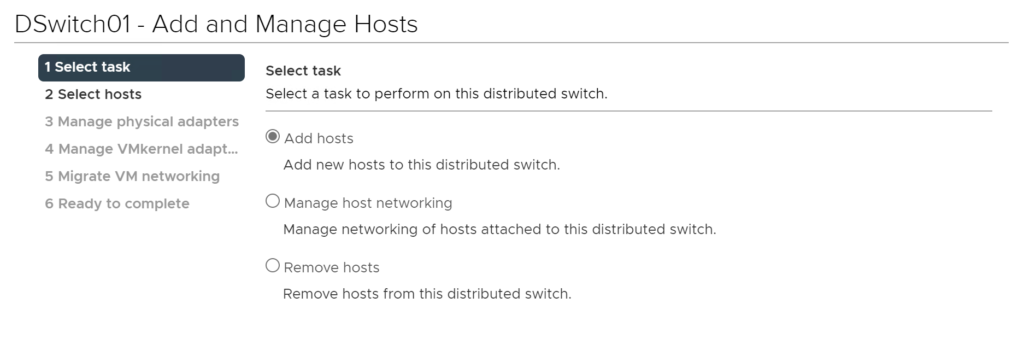
On this first screen, we need to select what we are doing. In my case, this is adding hosts to DSwitch01.
Click next.
Here we need to select the hosts:
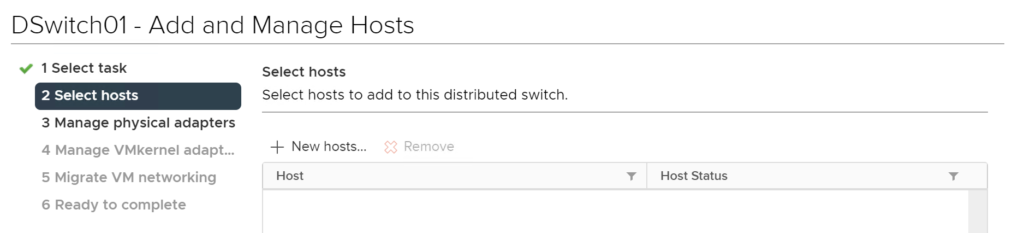
Click on 'New Hosts' to select hosts to add:
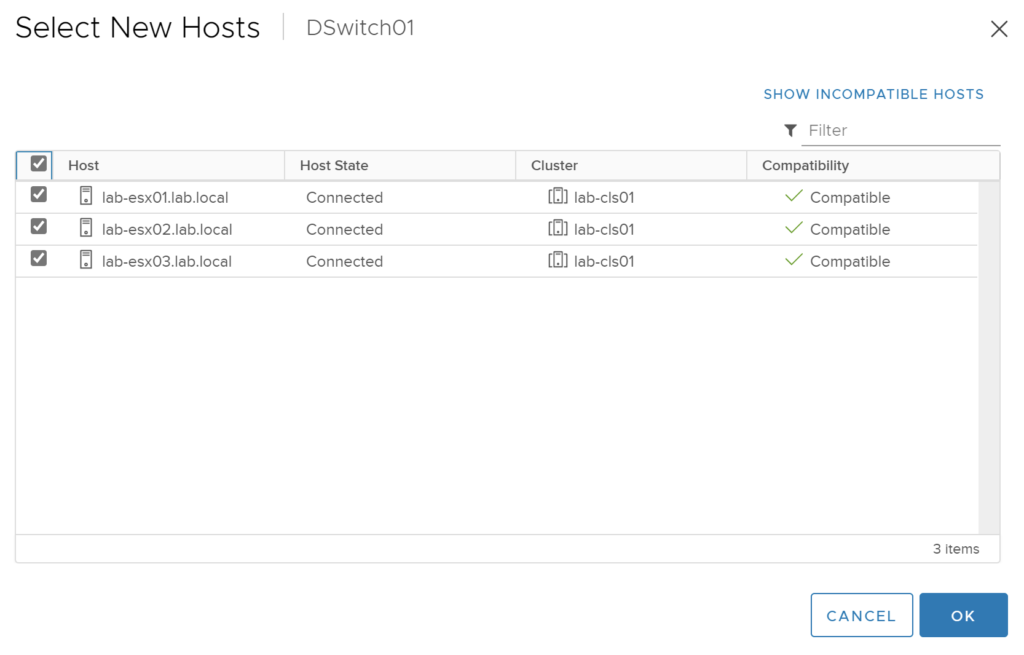
Here I have selected all 3 hosts.
Click Ok and then Next.
Here we will be asked to assign uplinks to the physical adapters on each host:
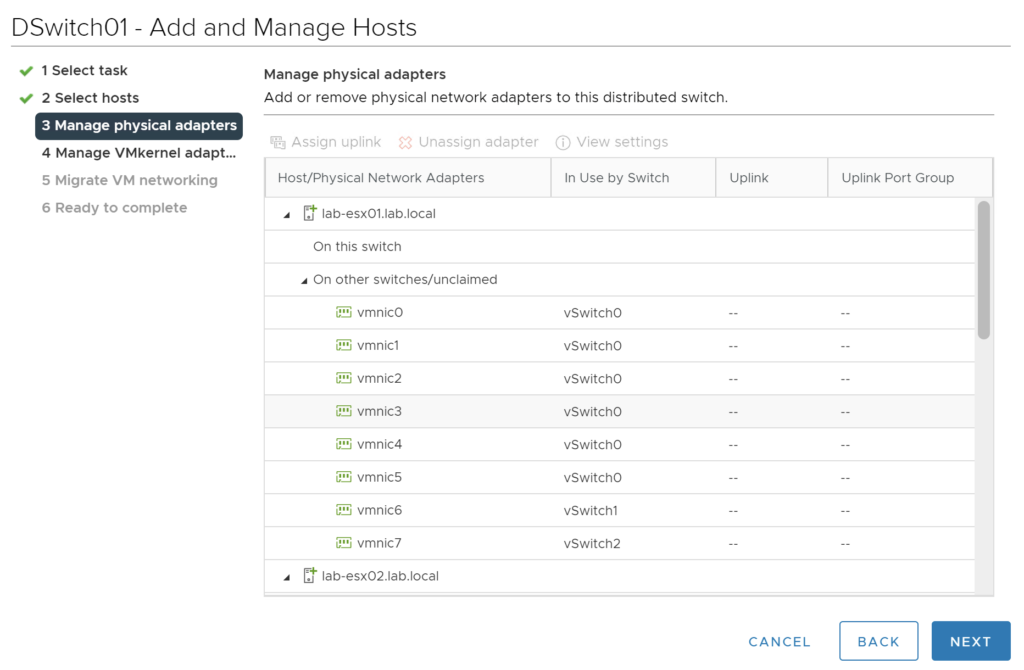
Click on vmnic0 and select 'Assign Uplink'. This screen will appear:
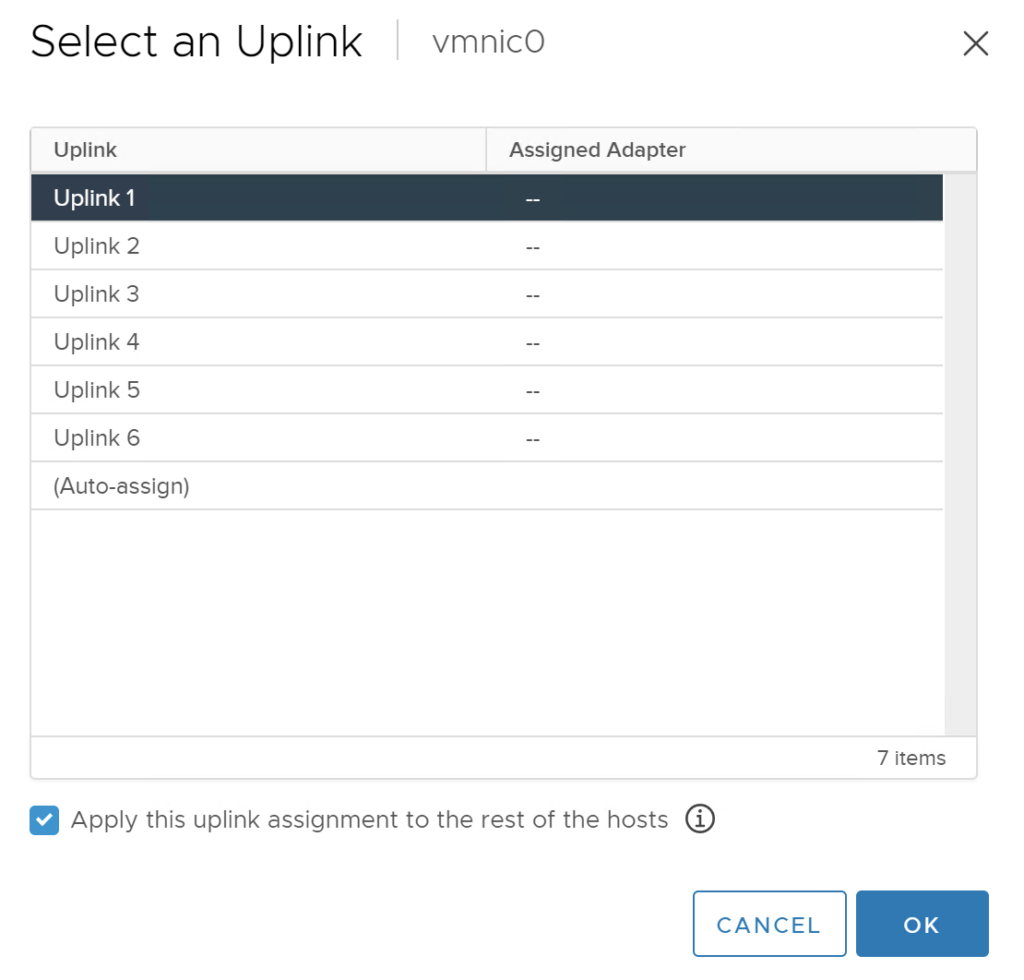
As we are matching the physical adapters to the DSwitches uplinks, we need to select Uplink 1. Make sure you also tick the box at the bottom to assign the uplink on each host.
Click OK.
You will see that the uplink has now been assigned:
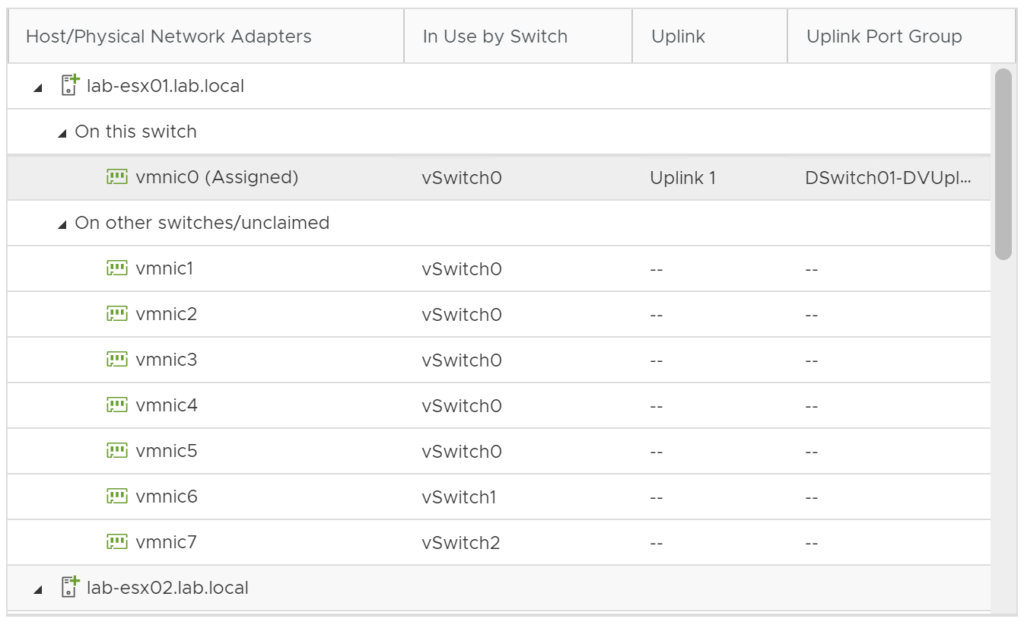
Now for vmnic1 to 5 (because we arent doing iSCSI yet) assign them to uplink 2-6. Remembering to tick the box at the bottom each time.
It should end up looking like this:
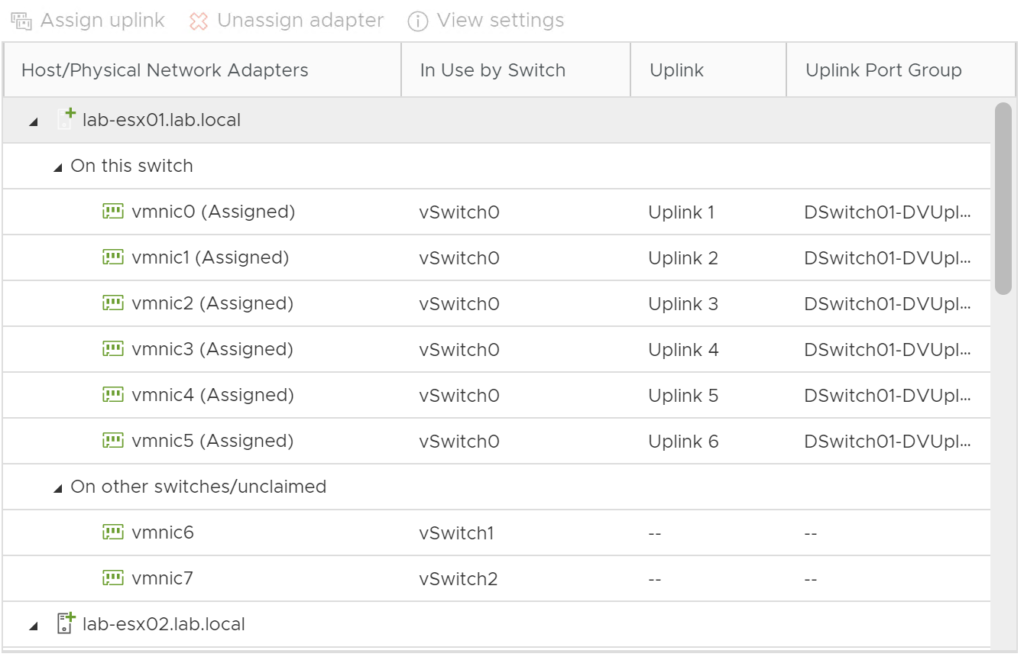
Once each uplink has been assigned, click Next.
Here you will be asked to assign the VMkernel adapters to port groups:
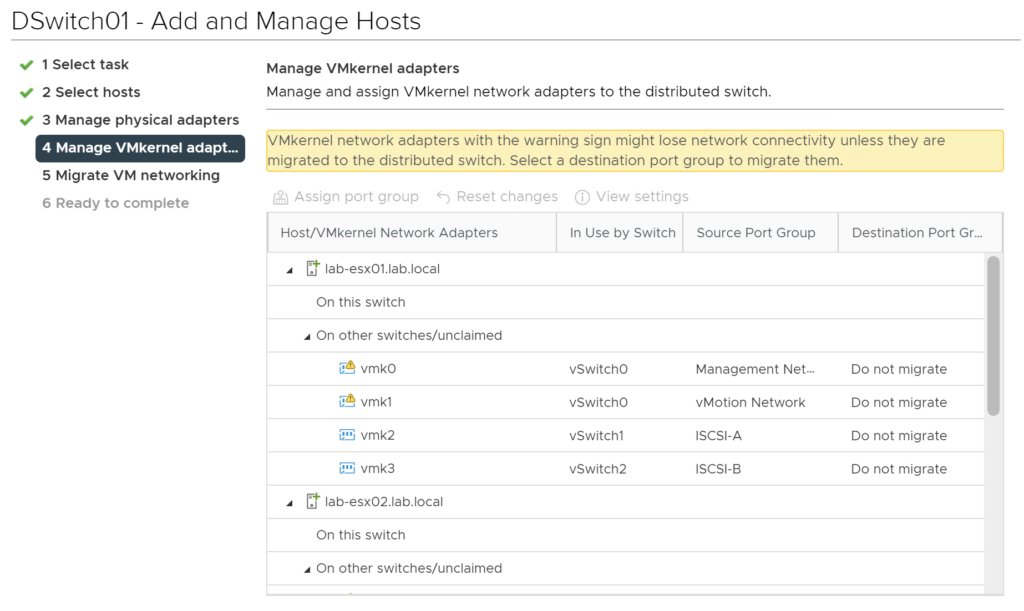
You will see a warning on a couple of the adapters, however this is normal and means we need to assign them otherwise we may loose connectivity.
Click on vmk0 and select 'Assign port group'. This screen will appear:
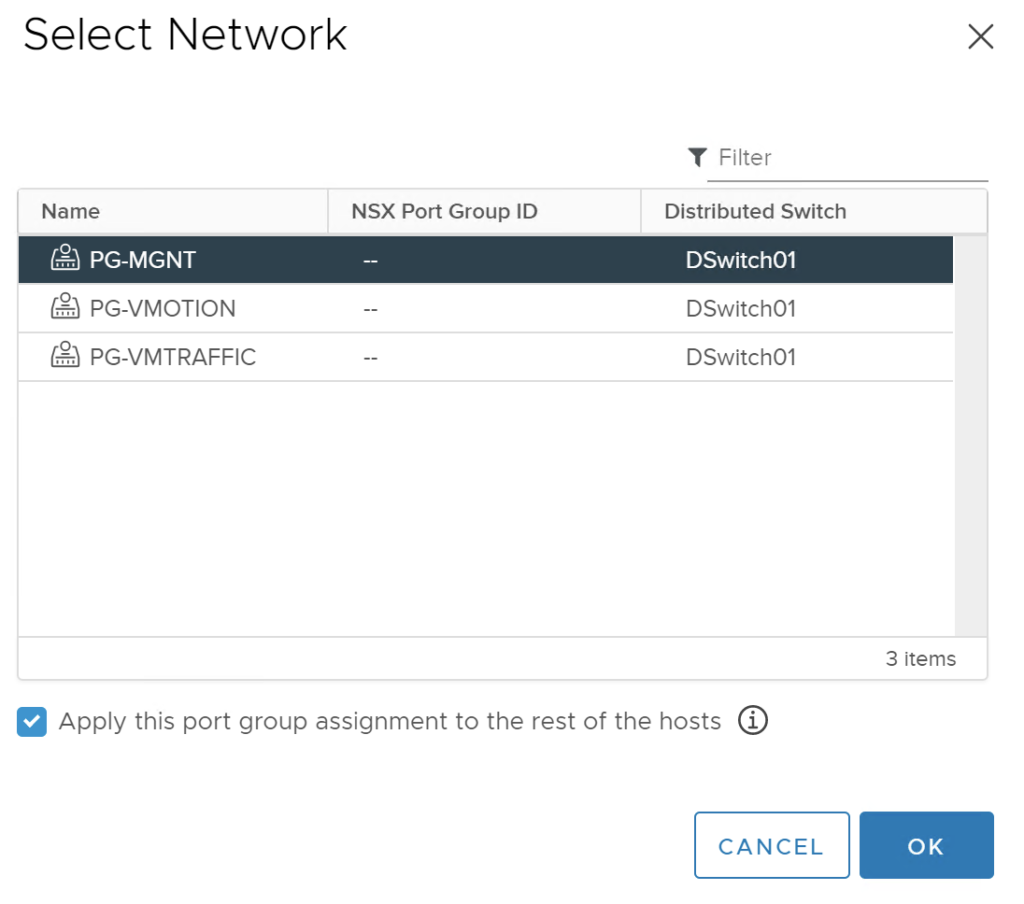
As this is our management interface, I have selected PG-MGNT and also ticked the option at the bottom to assign this to all hosts. Click OK.
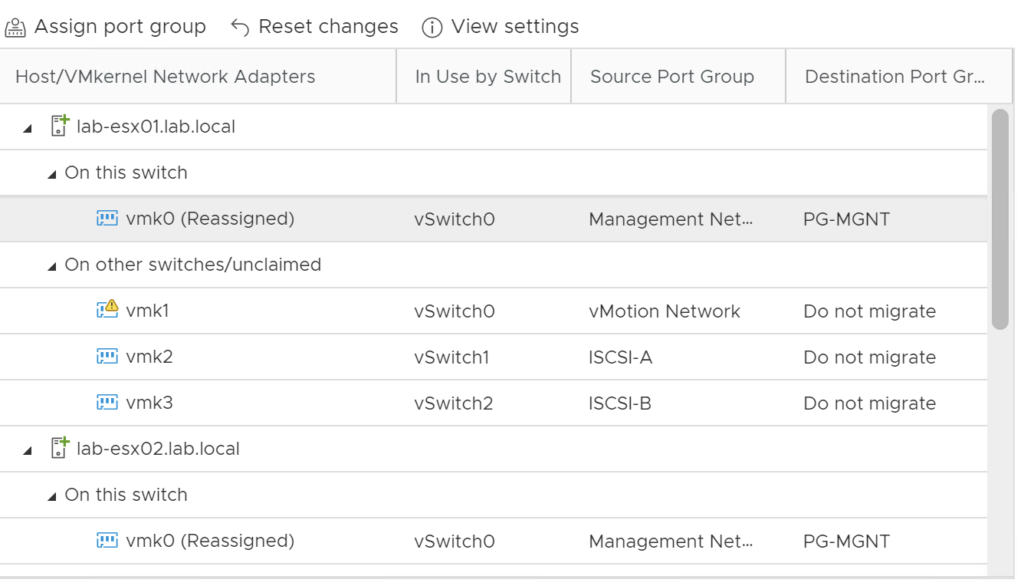
The VMkernel NIC has now been reassigned. The same needs to be done for vmk1. This should be assigned to PG-VMOTION and ensure the tick box is selected to apply to each host.
We are not moving the iSCSI networks yet so these should be left.
Once both VMkernel NIC's have been reassigned, it should look like this:

This looks correct, click Next.
On this next page, we need to migrate the VM networking:
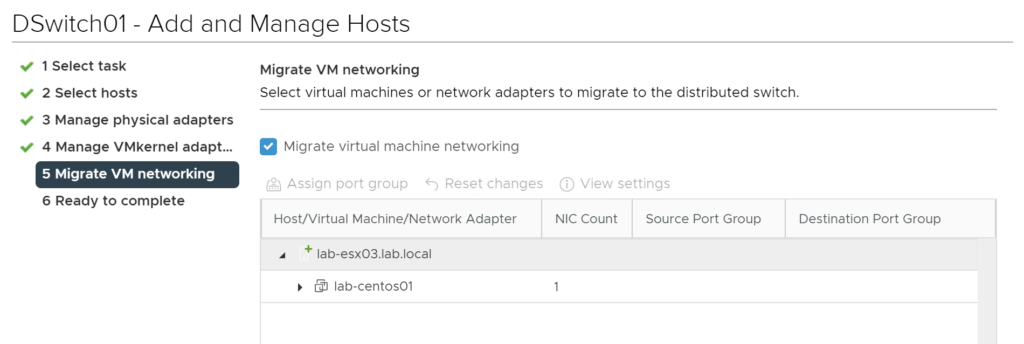
The 'Migrate virtual machine networking' option is not checked by default. Ensure it has been ticked and you should see a list of VM's appear.
For now, we only have lab-centos01. To reassign this, click on the VM and select 'Assign port group'. This window will appear:
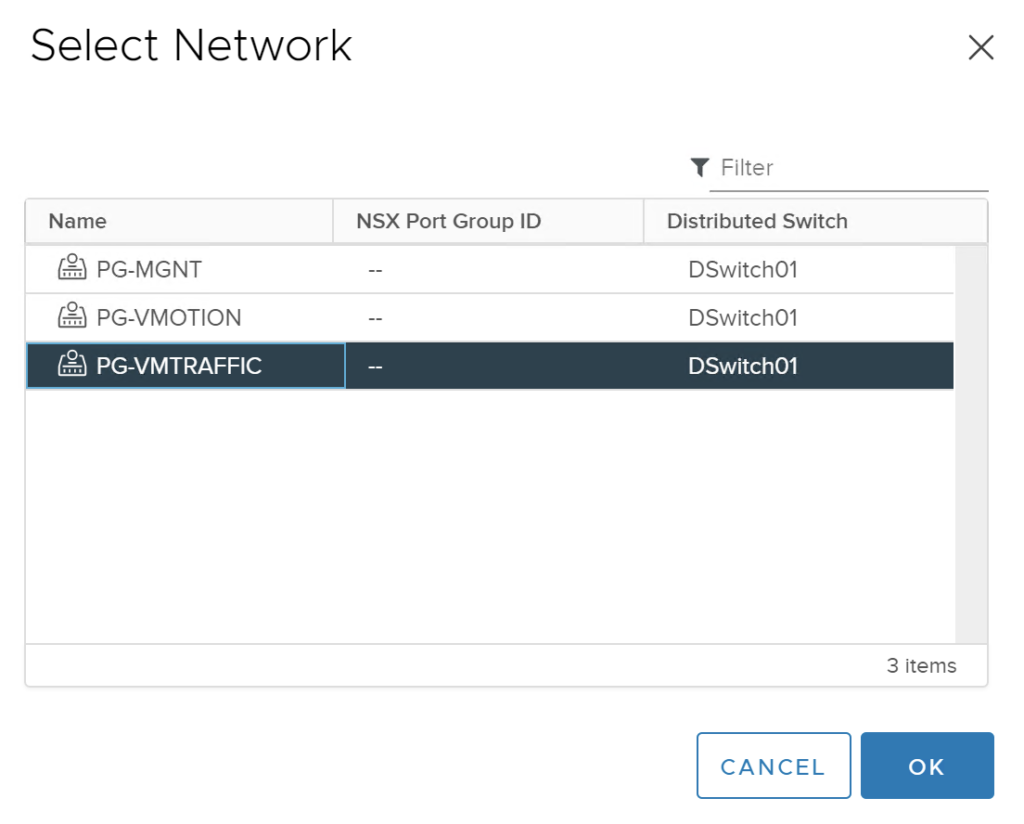
Here I have selected the VM Traffic Port Group, which is effectively the same network it is on at the moment but just going through the Distributed Switch. Click OK.
If you have more than one VM, you will have to do this for each.
Click on next.
You will be shown a overview of what you have set:
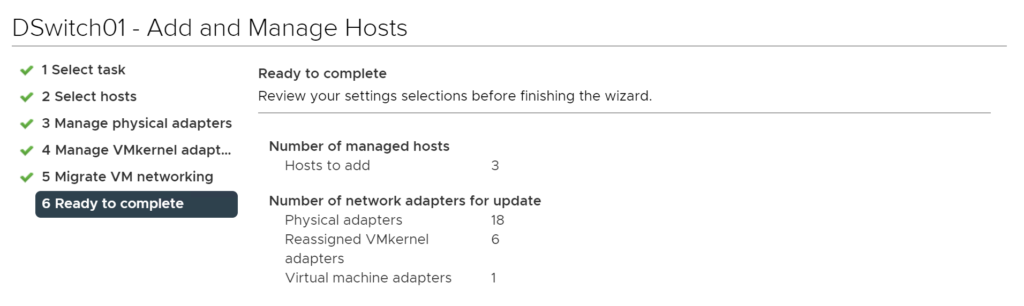
All of this looks correct, click Finish to begin the process of migration.
You will see several tasks appear on the bottom section. Once these have completed, we can see if all has gone smoothly.
Within DSwitch01. Click on the Hosts tab at the top. You should see a list of the hosts:

They should all say Connected. The alert will just be that they lost uplink redundancy while the transfer completed. We can verify this by clicking on lab-esx01 and moving to the Summary tab:
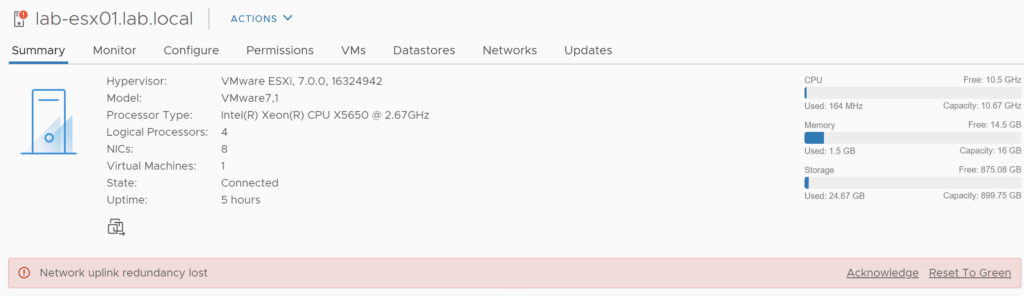
Here we can reset the alert to green as we know we have connectivity back and uplink redundancy has returned. This should be done for all hosts.
We should also take this time to ping lab-centos01 to check it is still online:
C:\Users\Administrator>ping 192.168.0.203

Pinging 192.168.0.203 with 32 bytes of data:
Reply from 192.168.0.203: bytes=32 time=2ms TTL=64
Reply from 192.168.0.203: bytes=32 time=1ms TTL=64
Reply from 192.168.0.203: bytes=32 time=1ms TTL=64
Reply from 192.168.0.203: bytes=32 time=3ms TTL=64

Ping statistics for 192.168.0.203:
    Packets: Sent = 4, Received = 4, Lost = 0 (0% loss),
Approximate round trip times in milli-seconds:
    Minimum = 1ms, Maximum = 3ms, Average = 1ms
Everything looks good there.
Moving back to the Hosts tab within DSwitch01 we should see no alerts now:

We should also take this time to test aspects like vMotion still work as expected after being moved over.
In the next part, we will move over the iSCSI switches and reconfigure the storage.

0 Comments