Now the cluster has been configured and we have storage attached using iSCSI. Lets create a VM.
Upload ISO to Cluster Datastore
In vCenter, move over to the Datastore tab on the left hand side:
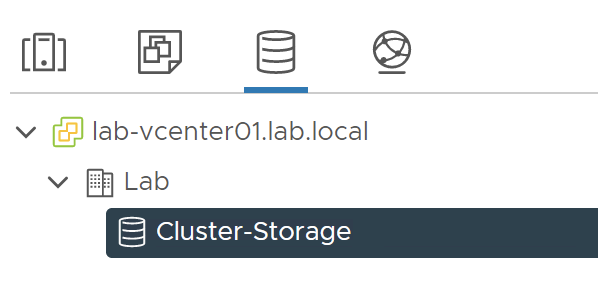
You should see the Datastore we configured in the last part. In my case its called 'Cluster-Storage'. Clicking on the Datastore will show it on the right hand panel:

Here we can see some information about the Datastore. For now we just want to upload an ISO for the VM we will be creating. To do this, move over to the 'Files' tab.
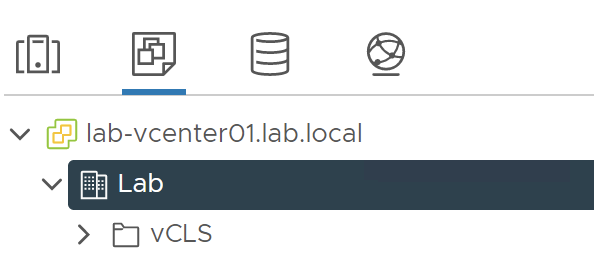
You should see the current folder structure:

There are already folders for the vCLS VM's that are deployed on each of the 3 hosts to manage cluster activities.
We will start by creating a new folder for our ISO's. We can do this by clicking 'New Folder' above the folders.
You will be asked to name the folder. I will call mine 'ISO'.
You should then be able to click into the folder on the left hand tree:

We can upload our ISO now. Click on the 'Upload Files' button. You will be asked to select the file you would like to upload.
In this example, I will upload a CentOS 8 ISO. This will most likely take a while as the storage isn't very fast in this lab.
Once the file has uploaded, it should appear:

Creation of the VM
Now we have the ISO uploaded into the Datastore. We can create the VM.
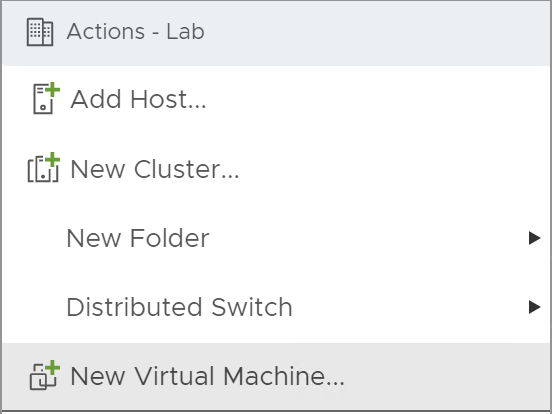
To do this, move over to the VM tab on the left hand side:
Right click on the Datacenter name and click 'New Virtual Machine':
The following wizard should appear:
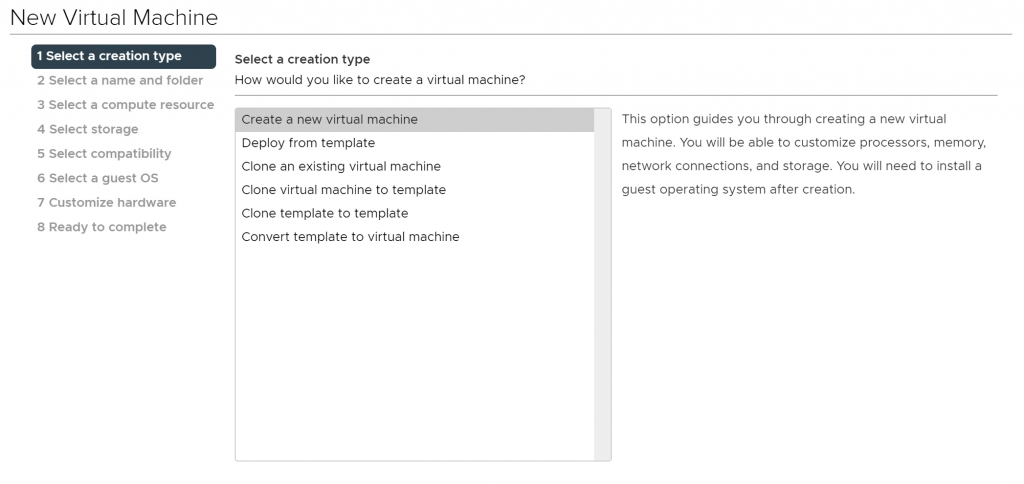
On the first page, you need to select the creation type. We are creating a new VM from scratch so will leave it on the default.
Click next.
You will be asked to select a name and location:
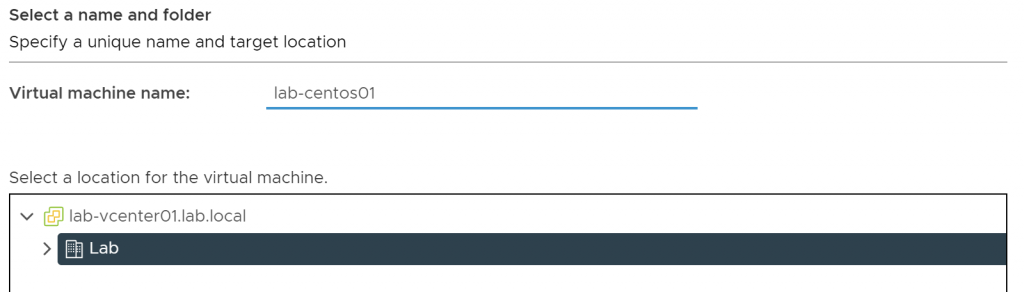
I have named the VM 'lab-centos01' and have selected the Lab Datacenter as the location for it.
Click next.
Now you need to select a Compute Resource (Host):

I have selected the first host (lab-esx01). You need to make sure that the compatibility checks complete. In my case, they have.
Click next.
You will be asked to select the storage you want to configure the VM on:

I have selected the Cluster-Storage Datastore which is our iSCSI storage. You also need to make sire the compatibility checks succeed here too.
Click next.
You will be asked about ESXi host compatibility:
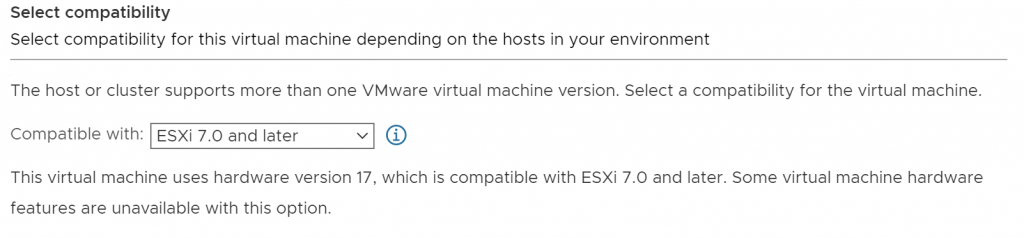
I will leave this on default as all hosts are running the same version (ESXi 7.0)
Click next.
Here you need to select the Guest OS:

I have selected Linux as the Family and then CentOS 8 as the version. This determines some of the drivers that are used so you need to make sure this matches the OS version you are installing.
Click Next.
You will now be asked to customise the VM hardware:
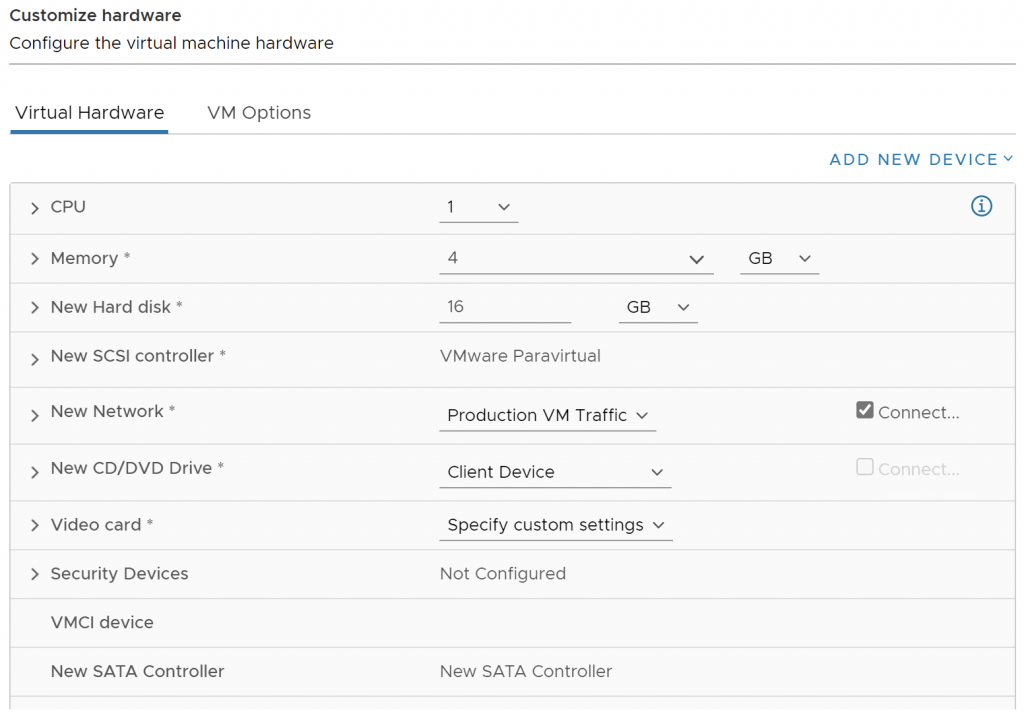
1 CPU, 4GB of RAM and 16GB Disk will be enough for this minimal install of CentOS. The Network has also already been selected as the 'Production VM Traffic' port group which is what we want.
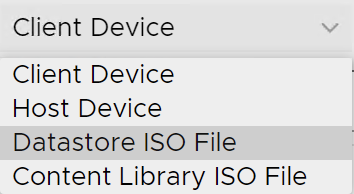
To add our ISO we need to change the option from 'Client Device' to 'Datastore ISO File':
You will be asked to select the file, in my case, I will select the ISO we uploaded earlier:
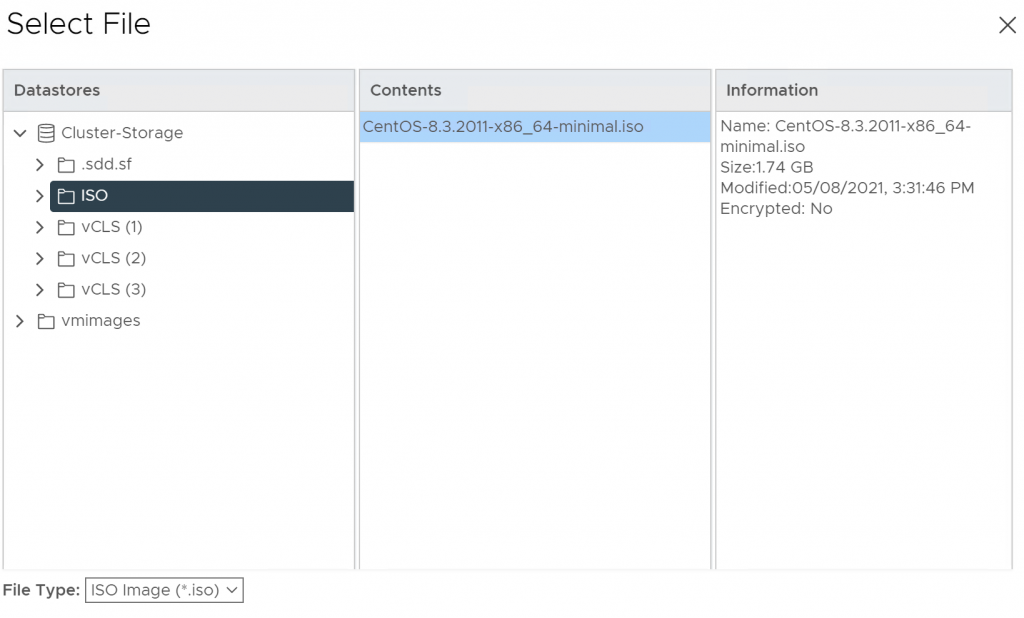
Click OK to select the ISO.
The last thing we need to do is tick the 'Connect' box to the right of the CD/DVD Drive:

Everything else should be okay for a basic install. Click next.
On the last page, you will be shown a full summary of the VM configuration:
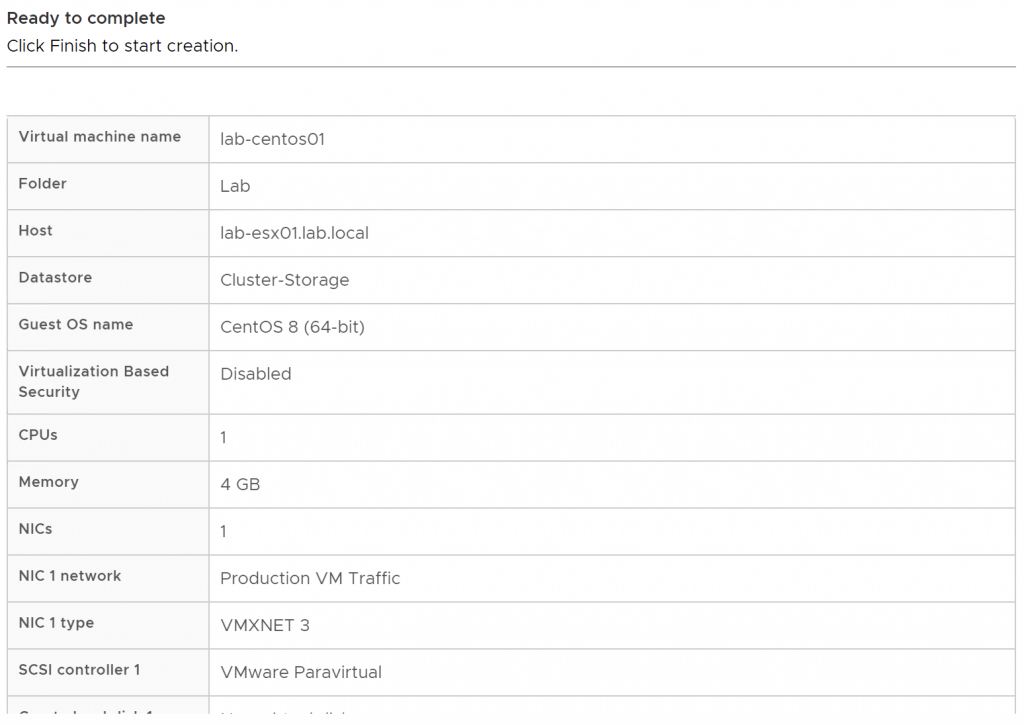
All of this looks okay, so we can click Finish to continue. If anything looks wrong, you can click Back to change it.
Clicking Finish will begin the VM creation task.
After a few seconds, the VM should appear on the left hand panel:
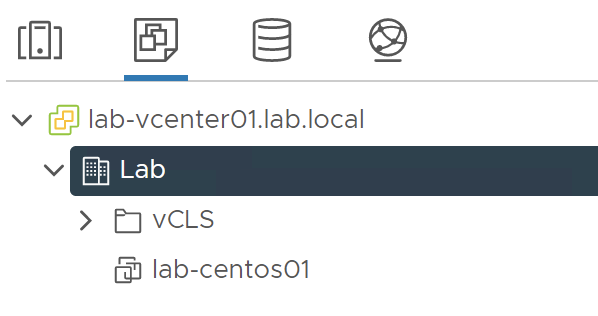
We can click into it to view more detail:
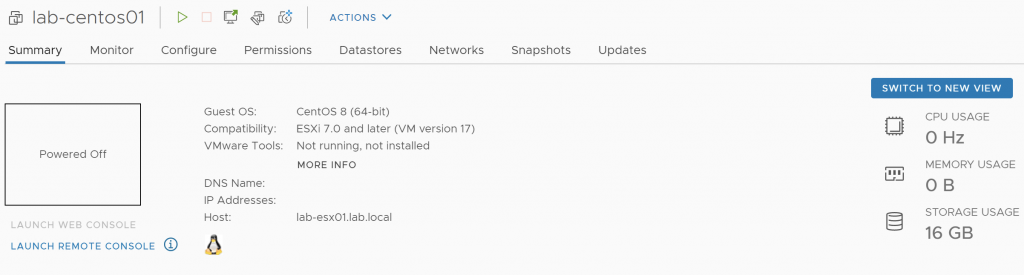
Now we can boot up the VM by clicking the Green play button to the right of the VM name and begin installing CentOS.
I will not show the install of CentOS as that is out of scope of this series. However everything should run smoothly.
In the next part we will do some testing with vMotion by attempting to move the VM to another host.

0 Comments