This guide will show you how to install Windows Server 2019 onto a Server. In my case, I will demonstrate this in Hyper-V.
Downloading the ISO
Windows Server can be downloaded from a few different places.
If you are using Volume Licensing or are an enterprise, you probably have a VLSC account. You can download the ISO from your VLSC dashboard.
In the event you are a home user or installing in a lab, Microsoft allow you to download evaluation copies of Windows Server. These are usually good for about 180 Days.
Visit: https://www.microsoft.com/en-gb/evalcenter/evaluate-windows-server-2019
This link will take you to a page like this:
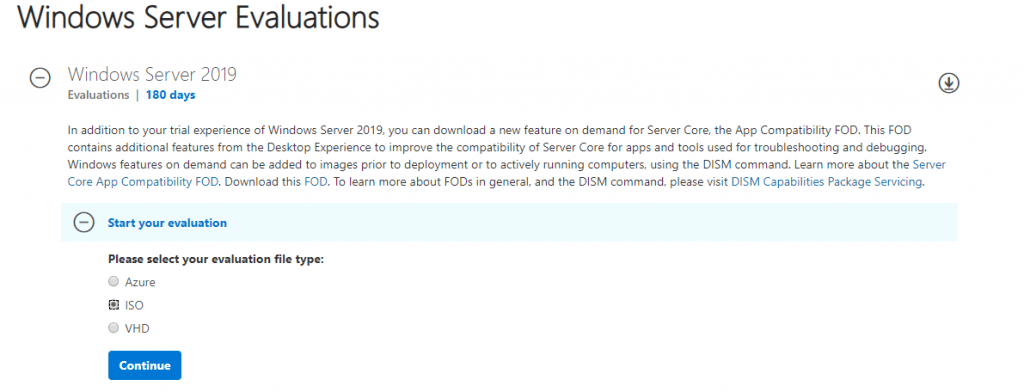
Make sure you select ISO and then click 'Continue'
You will then be asked to fill out some personal information, and then select the language you would like to download.

The ISO will now download and may take a while depending on your internet speed.
Burning the ISO to a USB
Now you have the ISO file, unless you are using a VM Hypervisor you should be able to upload the ISO and add it to a VM. However, if the server is physical, you will most likely be using a USB stick to install.
As the ISO is about 5GB, you will need at least an 8GB stick. USB 3 is always ideal.
Download Rufus from here: https://rufus.ie/
Once downloaded you can launch it, you will see this:
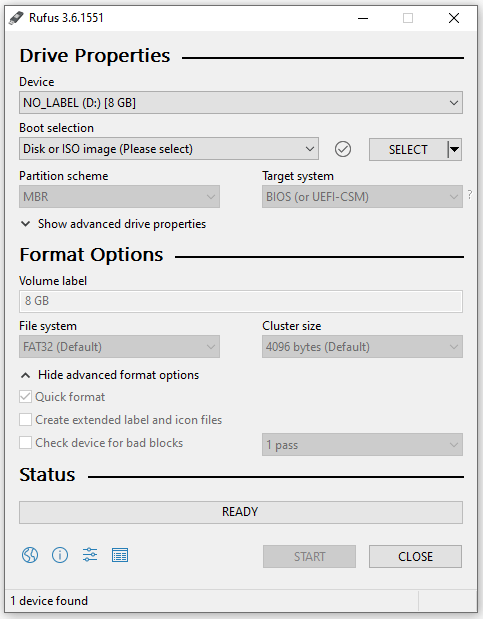
Make sure that the selected device is your USB stick, as this will wipe all the data from it. Selecting the wrong USB could be devastating. You have been warned!
Now click on the 'Select' button under Boot selection, you will be shown a file browser. Find where you saved your ISO and double click it.
Once you have verified the device and ISO file, click on START. The process may take some time and will depend on the speed of the USB stick.
Installing the OS
Once the ISO has been burnt to the USB stick. You need to insert it into the server and boot from it. You may need to research how to get into the boot menu of your server. This varies between server vendors.
You will know its booted properly when you see a screen like this:
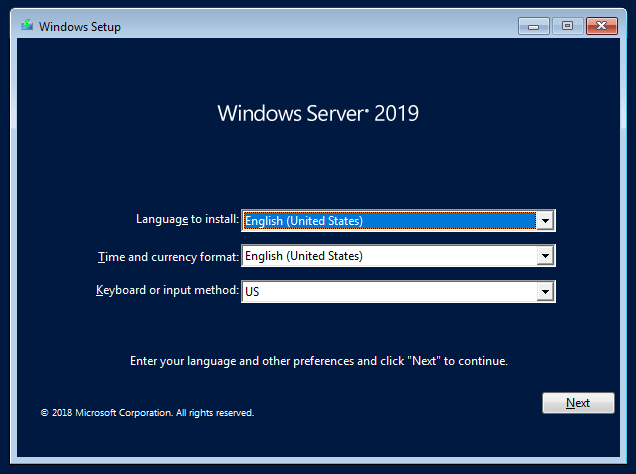
Here you need to select your language and time format. Once selected, click on Next.
Then, click on 'Install Now'. The installer will then start.
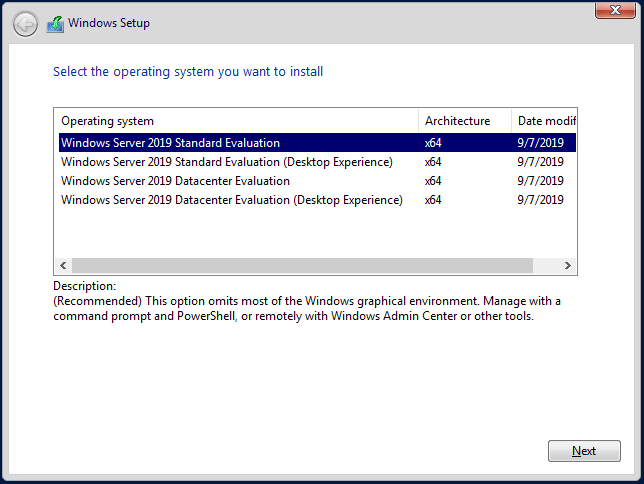
Now you need to select the OS version, if you aren't sure what you need to install 'Windows Server 2019 Standard (Desktop Experience)' is a good place to start. Once selected, click on Next.
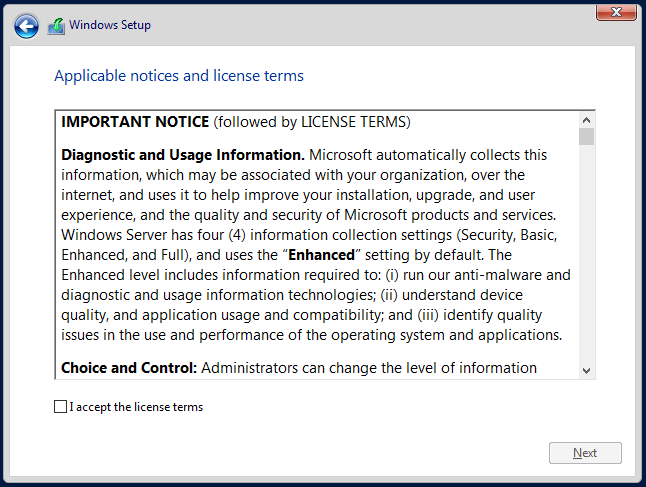
On this next page, you need to tick the 'I accept the license terms' box and then click on Next.
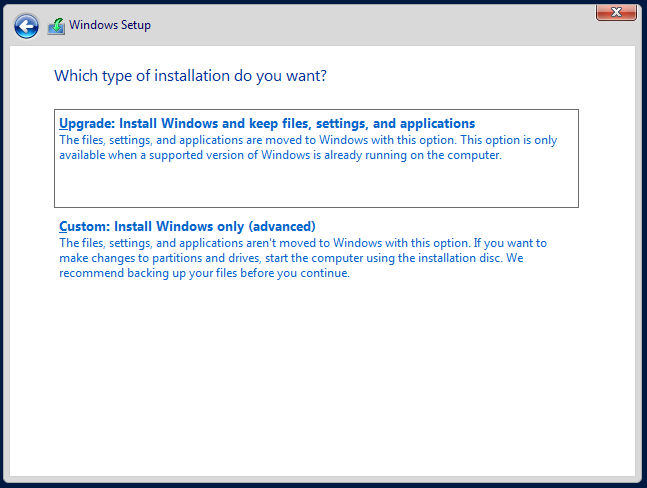
Here you need to select 'Custom' unless you are doing an in place upgrade on an existing Windows Server Install.

Now you can select which disk you would like to install Windows Server onto. Here I will select the 60GB virtual hard disk I provisioned for this Virtual Machine.
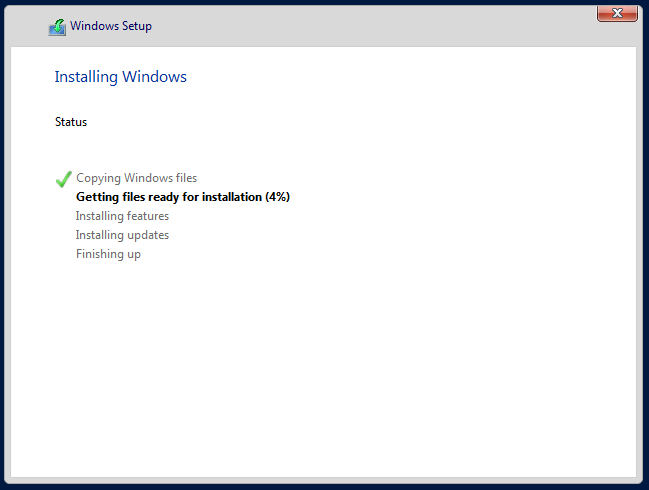
The Windows installer will now copy the installation files and reboot several times to install drivers
Setting up Windows Server 2019
Once the installer has finished, you will be greeted with a Blue screen that asks you to set passwords:

Once you have typed the password twice, click on Finish and Windows will allow you to log in.
You have now successfully installed Windows Server 2019!
If you have any questions about this, leave them in the comments below

0 Comments