This guide will show how to install Windows Server and MDT
Installing Windows Server
To install Server, you first need to obtain an ISO. This will either be through the Microsoft website or your organisations Volume Activation portal. Make sure that you download the latest version to ensure the security patches are up to date and all the necessary updates are installed.
After downloading the ISO. Either burn the ISO to a USB stick or DVD. If the machine is virtual use the normal steps that you would take to upload the ISO and boot the Virtual Machine from it.
Once the ISO boots you will see the following screen:
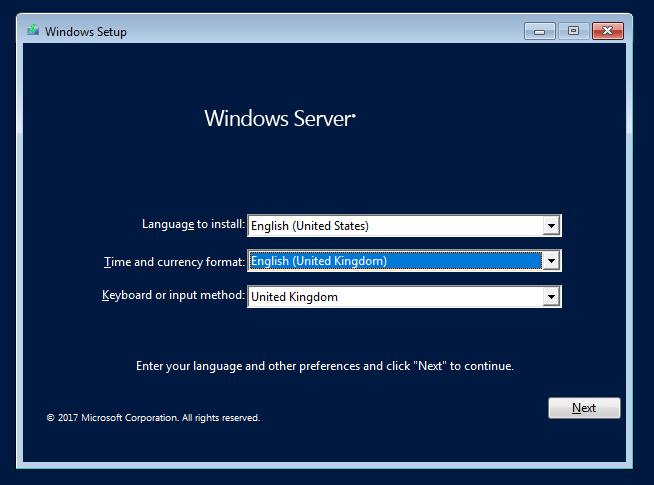
Ensure that the Time is set to English (United Kingdom) and Keyboard is set to United Kingdom.
Now click next to proceed to the next screen and click the ‘Install Now’ button.
On the next page you will see this:
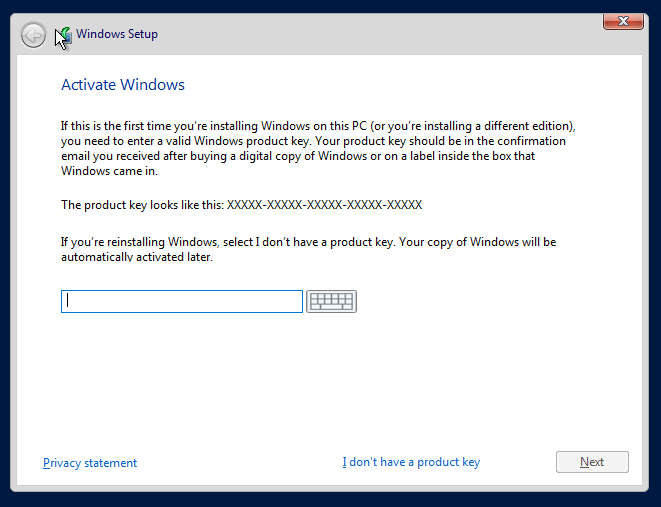
Click I don’t have a product key. This will allow you to select a specific flavour of Windows Sever.
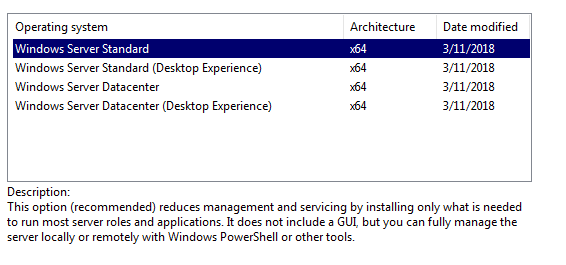
On this next page ensure that ‘Windows Server Standard (Desktop Experience)’ is selected. Click next.
On the next screen check the ‘I accept the license terms’. And then click next once again.
On the next screen Click ‘Custom: Install Windows only (advanced)’ and click next again.
This screen should appear:
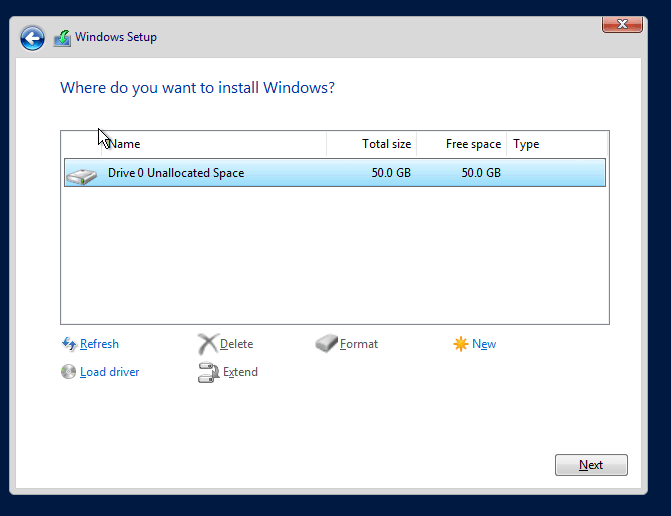
Select the disk that you would like to install Windows Server on. If you are installing over a drive that has been previously partitioned, make sure that you delete all the partitions from the disk. Ensure that you backup all data as installing Server will erase the whole disk.
Now click next and Windows Server will start to install. The machine will restart a few times. When the server is ready to be setup you will see this screen:
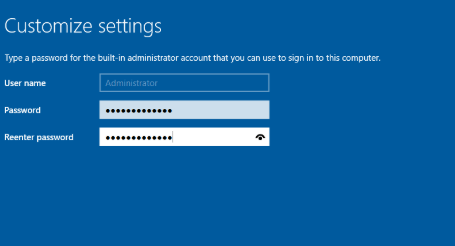
Type a password for the local Administrator account on the server. This needs to include a number and upper and lowercase characters.
Click next and the server will setup and login.
You have now successfully installed Windows Server. Now we need to configure it ready to install MDT.
Installing the necessary roles on Windows Server
Once the server has logged in the first step is to rename the server. This needs to be done before the installation of MDT as it will create additional problems while accessing the server. After renaming the server we can start downloading the needed components.
The needed components are:
- Windows 10 ADK
- Microsoft Deployment Toolkit
- Windows Deployment Services
Windows 10 ADK
Download the ADK from this site: https://docs.microsoft.com/en-us/windows-hardware/get-started/adk-install
Once downloaded run the MSI file and accept all the defaults. This ensures that all the needed components are installed and to the correct directory. The ADK will have to download data from the web so this will take a while to fully install.
Once you have installed the ADK, MDT is next.
Microsoft Deployment Toolkit
Download MDT from here: https://www.microsoft.com/en-us/download/details.aspx?id=54259
Ensure that you download the correct architecture to suit your version of Server. This is most commonly the 64bit version. Once the MSI has downloaded, run the file and accept the defaults once again. Once installed you need to restart the server.
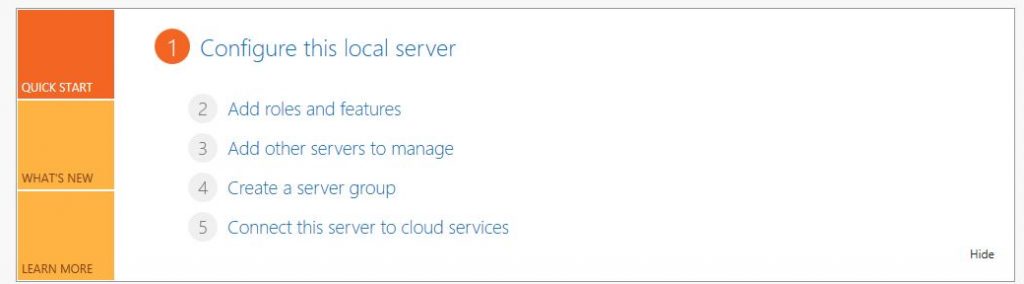
Once the server has restarted Windows Deployment Services can be installed. Open Server Manager and wait for it to load.
On the main page of server manager, click ‘Add roles and features’
Then click next on this page:
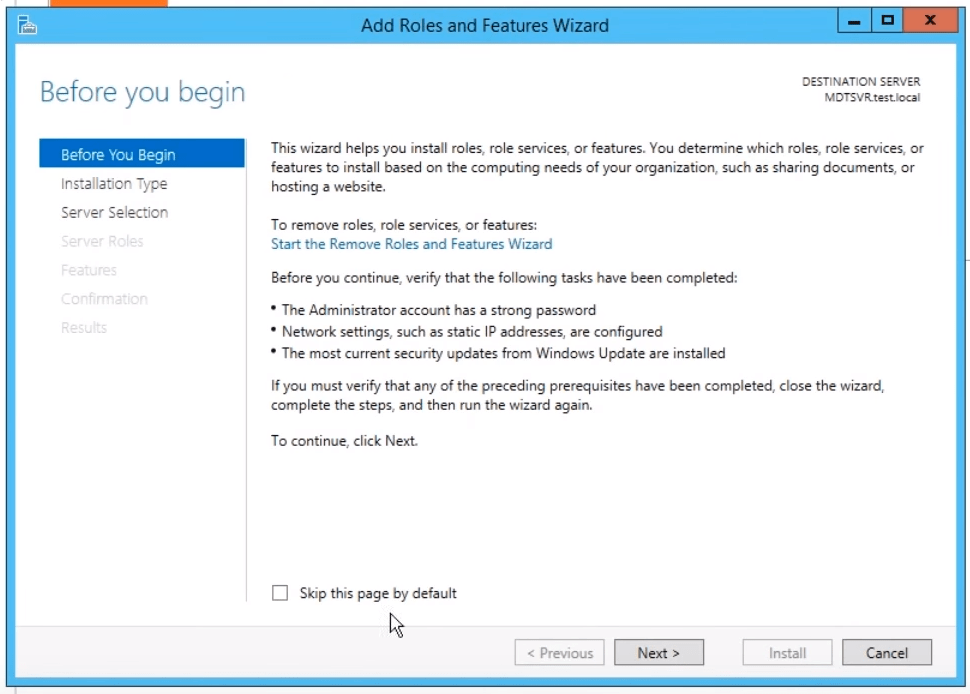
Then on the next page ensure that ‘Role-based or feature-based installation’ is selected.
Then click next and ensure that the correct server is listed and selected in the pane and then select next again.
On the role selection scroll down and check ‘Windows Deployment Services’ and click add features to the popup. This tells you the additional packages that are needed to Windows Deployment Services. These will be installed automatically. Now you can select next. On the ‘Features’ page leave that as default and select next.
Click next again. Then ensure that both ‘Deployment Server’ and ‘Transport Server’ are ticked. If not then tick them and click next.
Now you can click install and the required services will be downloaded and installed. Once this has completed you need to restart the server.
Now that all the services have been installed we can move onto configuring them.
Configuring Microsoft Deployment Toolkit
To open the Deployment Server console. In the start menu there will be an application called ‘Deployment Workbench’ in the start menu. Once the Toolkit has opened right click on the section labeled as ‘Deployment Shares’ and click ‘New Deployment Share’
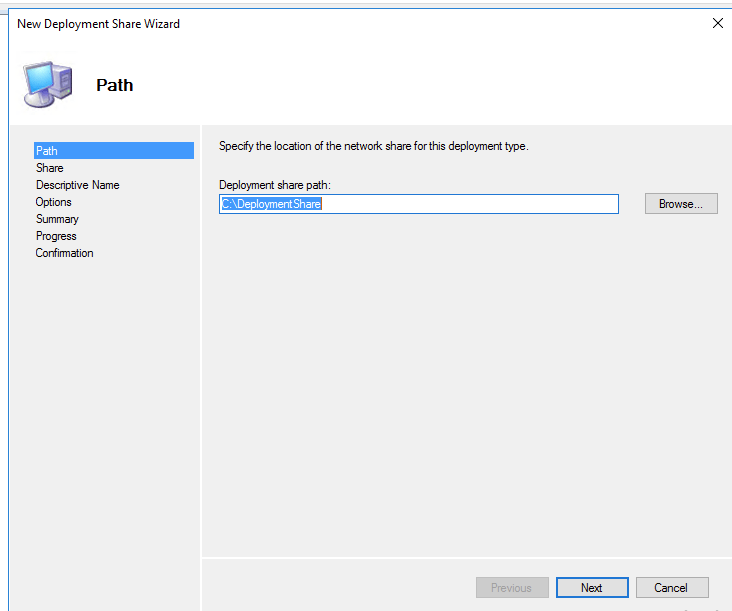
As default the deployment share will be placed on the root drive. Here you can edit this and specify a custom path - we recommend putting the deployment share on another drive or partition. Once a path is specified click Next.
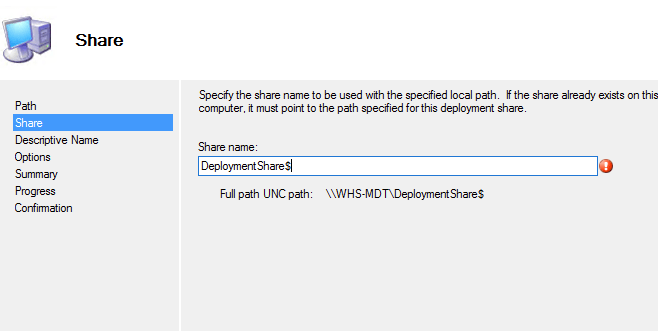
On this page you can change the name of the share. This will be mounted as a samba share on the server for the clients to access. Note that adding a dollar to the end of the share name will make it hidden.
Click Next

Here you can specify the descriptive name for the share. This can be left as default.
Click Next
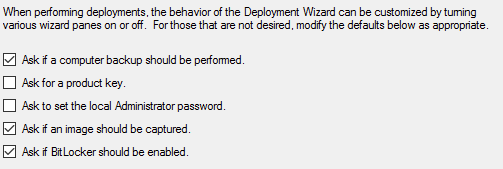
This section is one of the most important. Here you can specify some actions for the share. These can be changed after the deployment share has been created. The defaults can be left here.
Click Next and review the summary page. Once you have confirmed the settings, click next and MDT will start the creation of the share. This may take a few minutes depending on the hardware of the server.
Generating the boot images
After the Deployment Share has been created the boot images that Windows Deployment Services will hand out to the clients.
Open the Deployment Toolkit and expand the ‘Deployment Share’ tab on the left pane. Right Click on your deployment share. Click ‘Update Deployment Share’
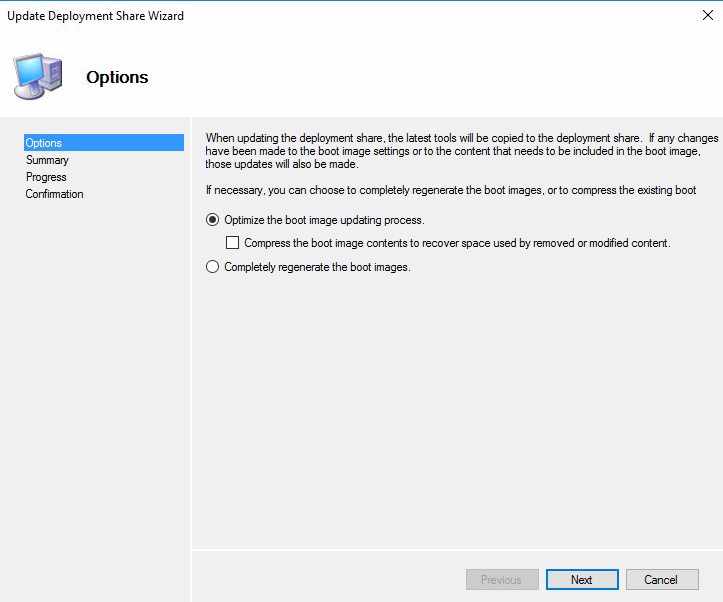
Ensure the ‘Completely regenerate the boot images’ radio button is selected and click Next and then Next again. The process will start and take a while to create the files for deployment. The images will be placed in the ‘Boot’ folder inside the deployment share location.
Adding the boot images to WDS
TO ADD
Setting custom options within MDT
Within MDT custom settings can be defined to create certain outcomes. This can make MDT quicker and easier to use on a larger scale. To access the custom settings area, open the Deployment Workbench.
Expand ‘Deployment Shares’ and Right click your deployment share.
Click on Properties and you should see this page:
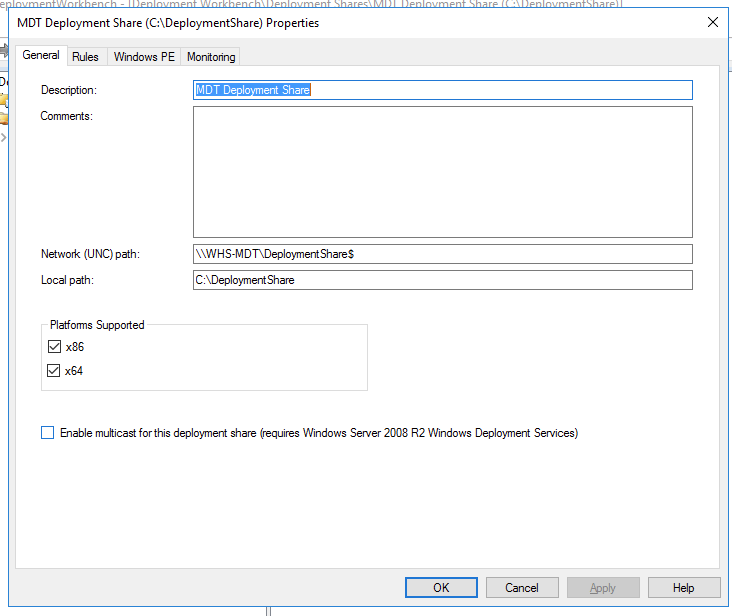
Move across to the ‘Rules’ tab and you should see the default settings that MDT have used.
The following is a good setup for nearly unattended deployment:
[Settings]
Priority=Default
Properties=MyCustomProperty

[Default]
OSInstall=Y
SkipBDDWelcome=YES
SkipCapture=YES
SkipTaskSequence=NO
SkipAdminPassword=YES
AdminPassword=[password here]
SkipDomainMembership=YES
_SMSTSORGNAME=[Organisation Name]
UILanguage=en-GB
UserLocale=en-GB
KeyboardLocale=en-GB
Systemlocale=en-GB
SkipTimeZone=YES
TimeZoneName=GMT Standard Time
TimeZone=085
SkipLocaleSelection=YES
USMTOfflineMigration=FALSE
UserDataLocation=NONE
SkipComputerName=NO
SkipCapture=YES
SkipProductKey=YES
SkipApplications=YES
SkipPackageDisplay=YES
SkipAppsOnUpgrade=YES
SkipComputerBackup=YES
SkipUserData=YES
SkipBitLocker=YES
SkipFinalSummary=YES
SkipSummary=YES
FinishAction=REBOOT
Once you have edited the rules you will need to click ‘Apply’ and then ‘Ok’. Now the boot images need to be completely regenerated and reimported into WDS. You can do this by following the steps above.
Adding an Operating System
Open the “Deployment Workbench” located in administrative tools.
Once this is open expand the pane on the left that says ‘MDT Deployment Share’
You will see the following options:
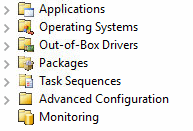
Right Click on ‘Operating Systems’ and make a new folder. Calling it for example ‘Windows 10 Clean Build’.
Then expand that folder in the tree and right click again. This time selecting ‘Import Operating System’.
You should see the following dialogue:

Depending on the format of your operating system select one of the following options.
- Full set of source files: A Windows CD or extracted directory containing an operating system. This could be a Windows 10 ISO that has been extracted.
- Custom image file: This is if you want to import an OS that you have previously captured from a computer. These are generically saved in the Captures directory of the MDT deployment share and are in the WIM format.
The next prompt asks if setup files are needed:
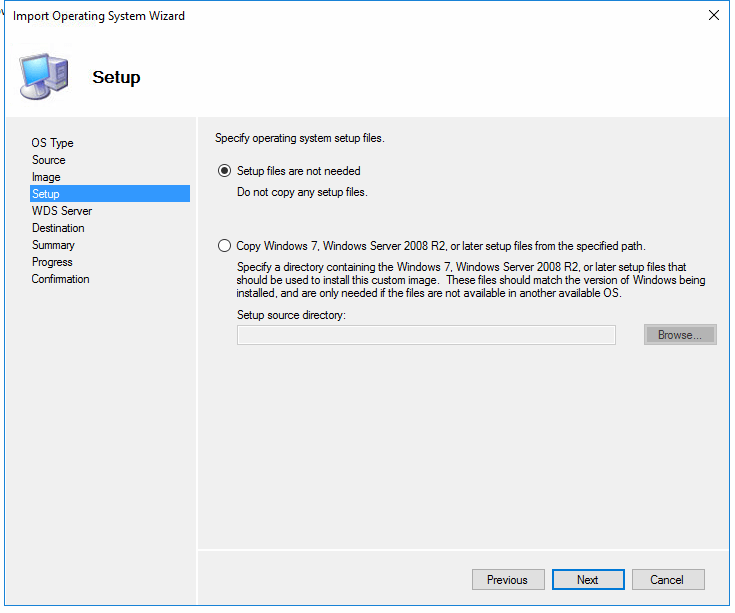
Unless you have setup files this is generally left as default and not needed. Click next and give the OS a name that will be meaningful on the server.
Then confirm by clicking next and the OS will be imported into the MDT server. Once this has finished right click on your deployment share:

Click on ‘Update Deployment Share’
For the majority of updates this should be left on optimise. Fully regenerating the boot images will take considerably longer depending on the hardware.
You NEED to update the deployment share after changes have been made to the server. Updating applies the settings you have edited.
Once this has finished you have successfully imported an operating system into MDT and updated the share to allow the use of the operating system into a task sequence.

0 Comments